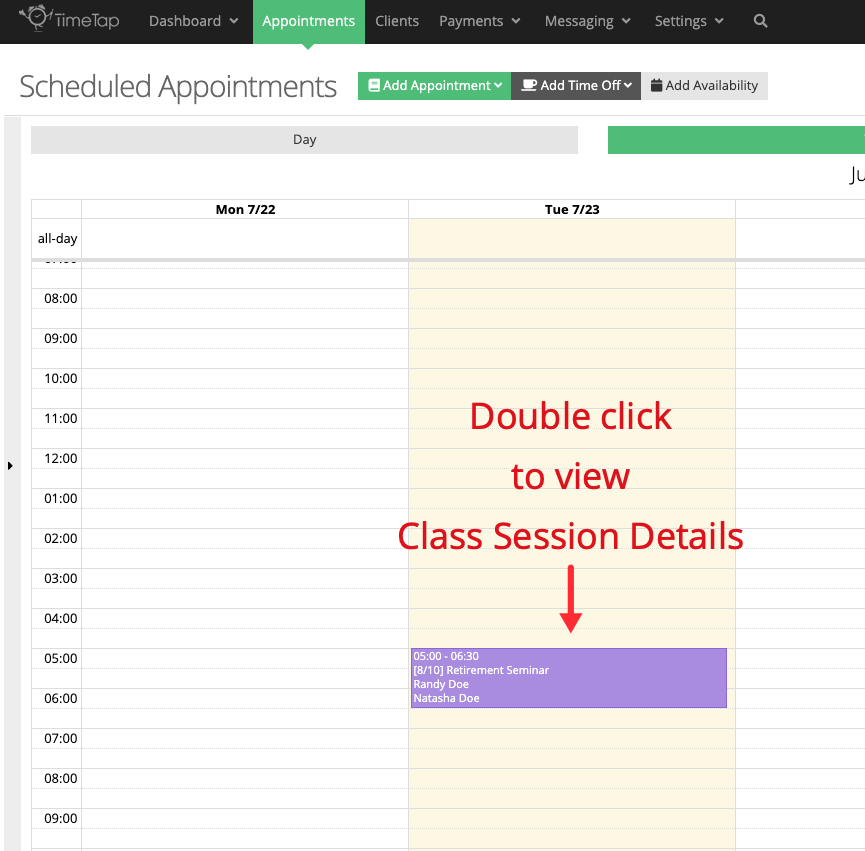
The Class Session Details page for each scheduled session provides the option to launch a Check In Screen where you can allow your client to check themselves in or register for a class for a specific class session.
The Check In Screen found within the Class Session Details page is different than the Check In Screen found under Dashboard > Check In Screen. The one found under Dashboard is intended to allow clients to Check In for any class and service based appointment by entering a set of criteria in order to search for it. The Check In Screen initiated from the Class Session Details page will display a list of attendees for only one class session. Your clients will still have the option to search for their appointment, but only within the class session currently displayed on the Check In Screen.
This help doc covers how to:
- Launch the Check In Screen
- Allow Walk In Registrations on the Check In Screen
- Search for Class Sessions on the Check In Screen
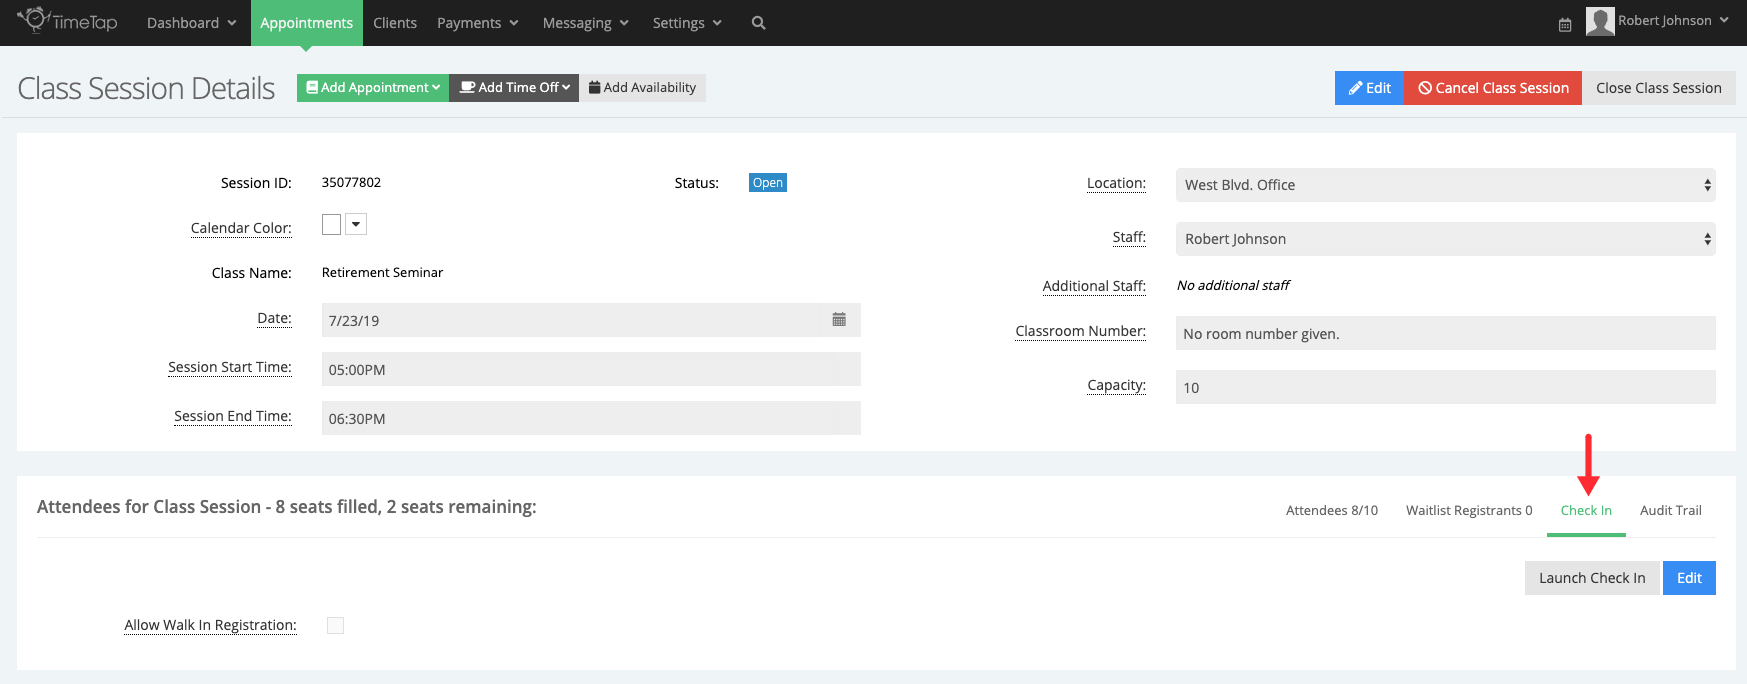
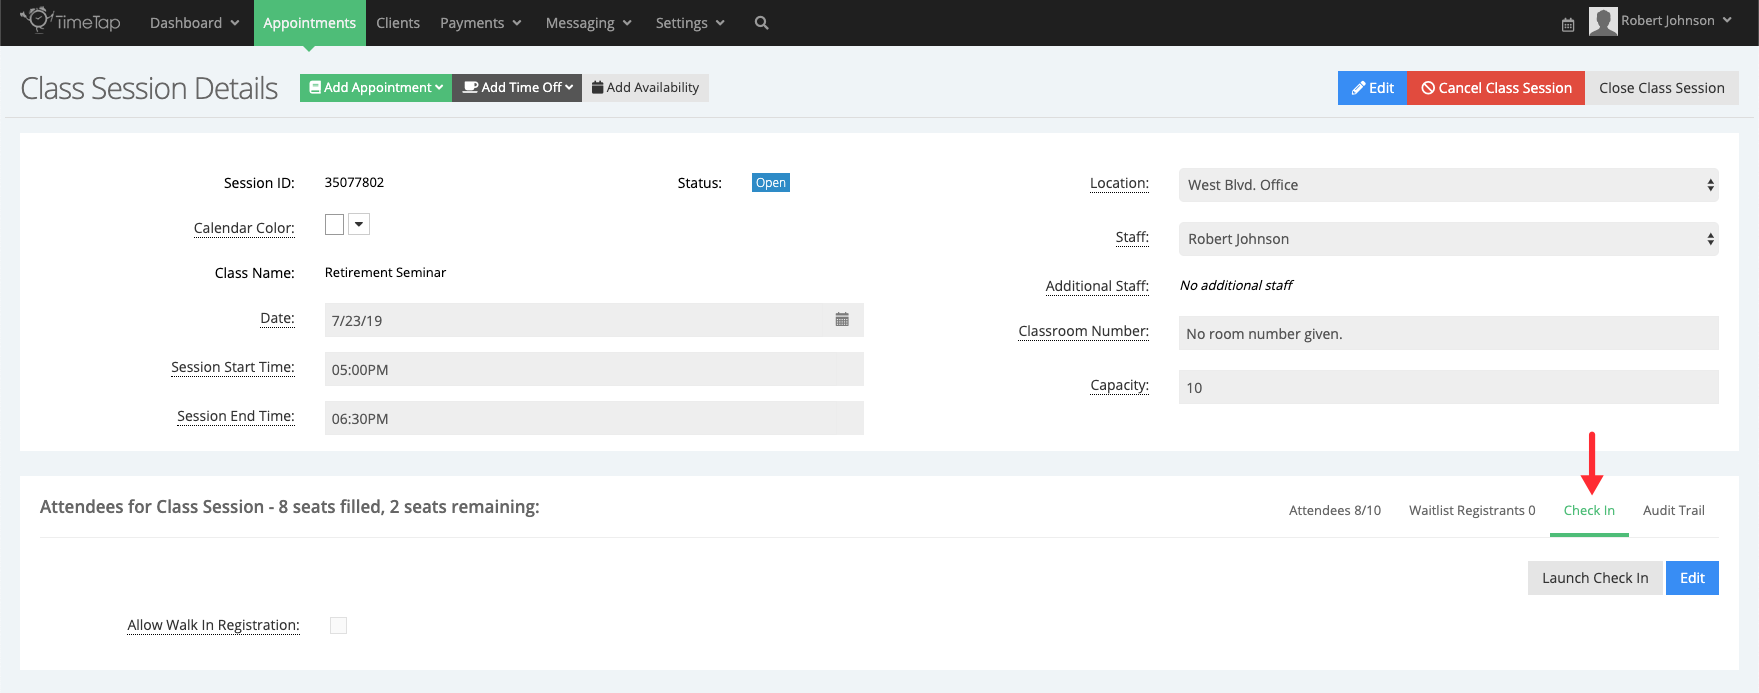
On the Class Session Details page, select the Check In tab located in the lower right hand section of the page:
The Check In tab gives the option to:
- Launch the Check In Screen for this particular class session
- Allowing walk in registrations for this session through the Check In Screen
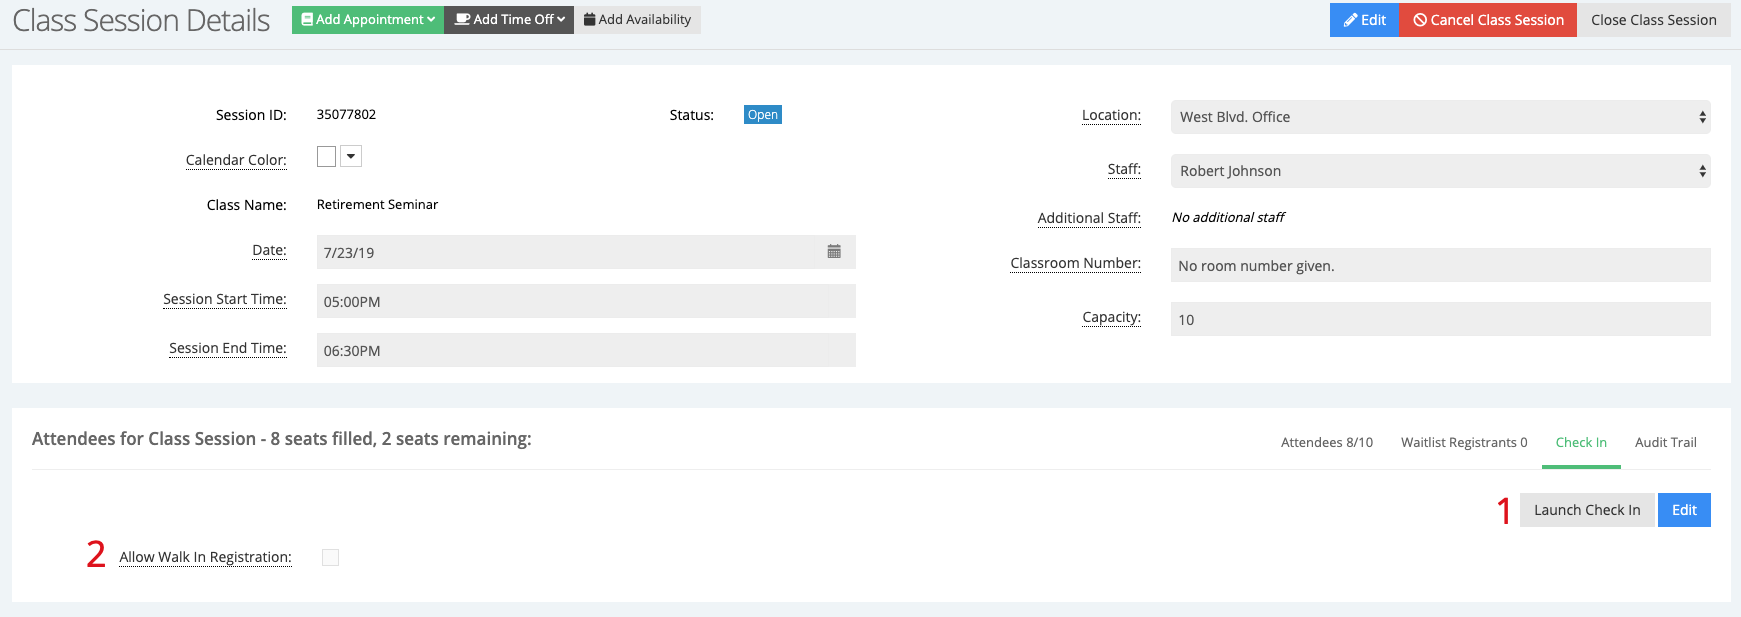
Select the Launch Check In button, which will open the Check In Screen in a new tab of your browser:

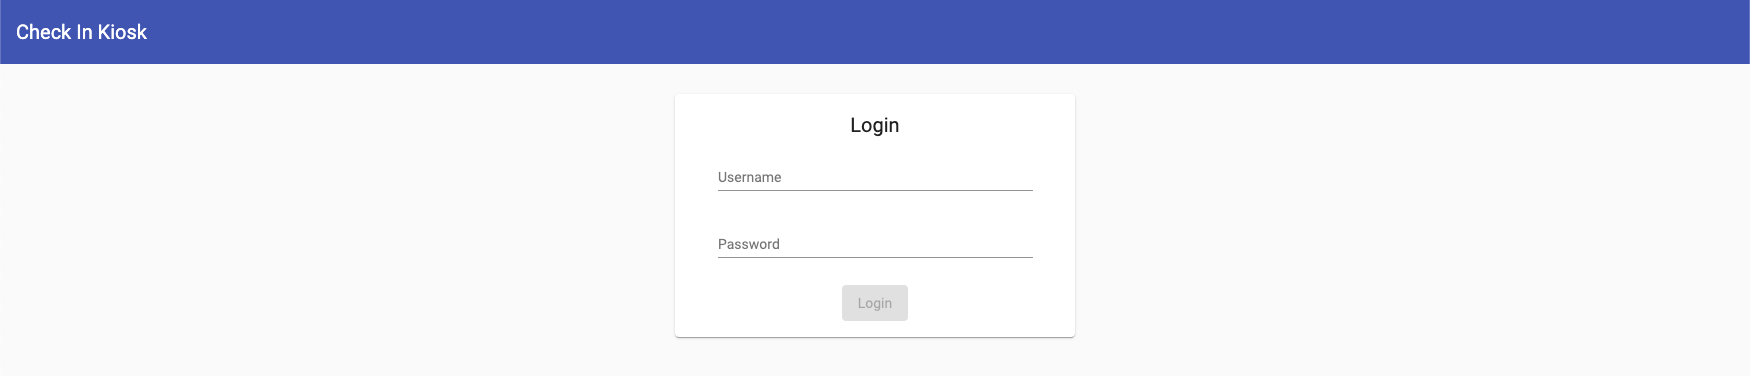
When the Check In Screen launches, you'll be asked to enter your TimeTap staff login credential (the same ones you use to access the TimeTap Backoffice):
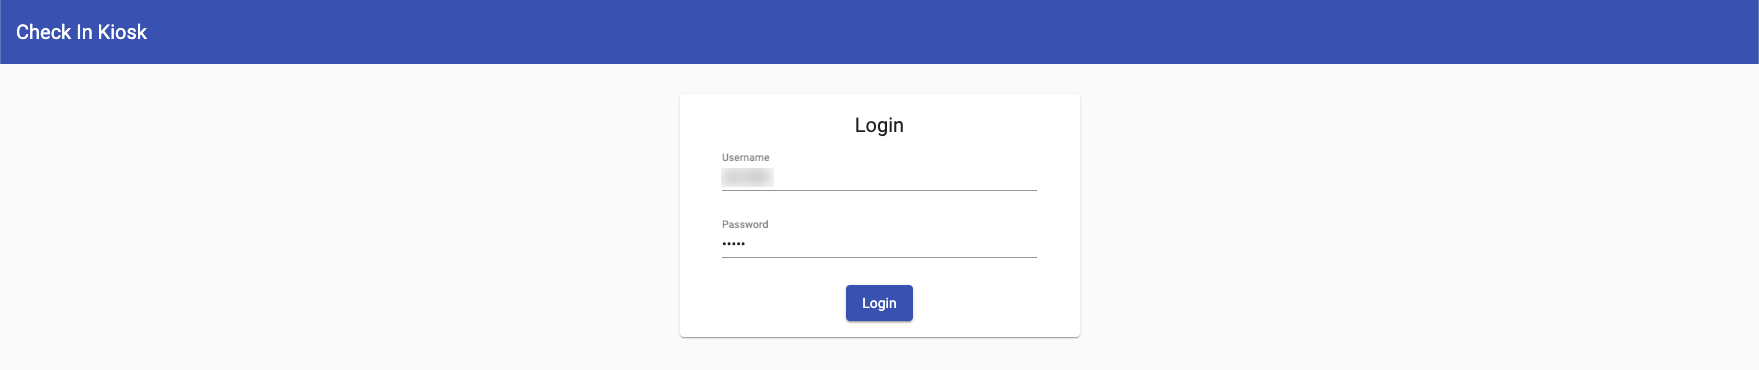
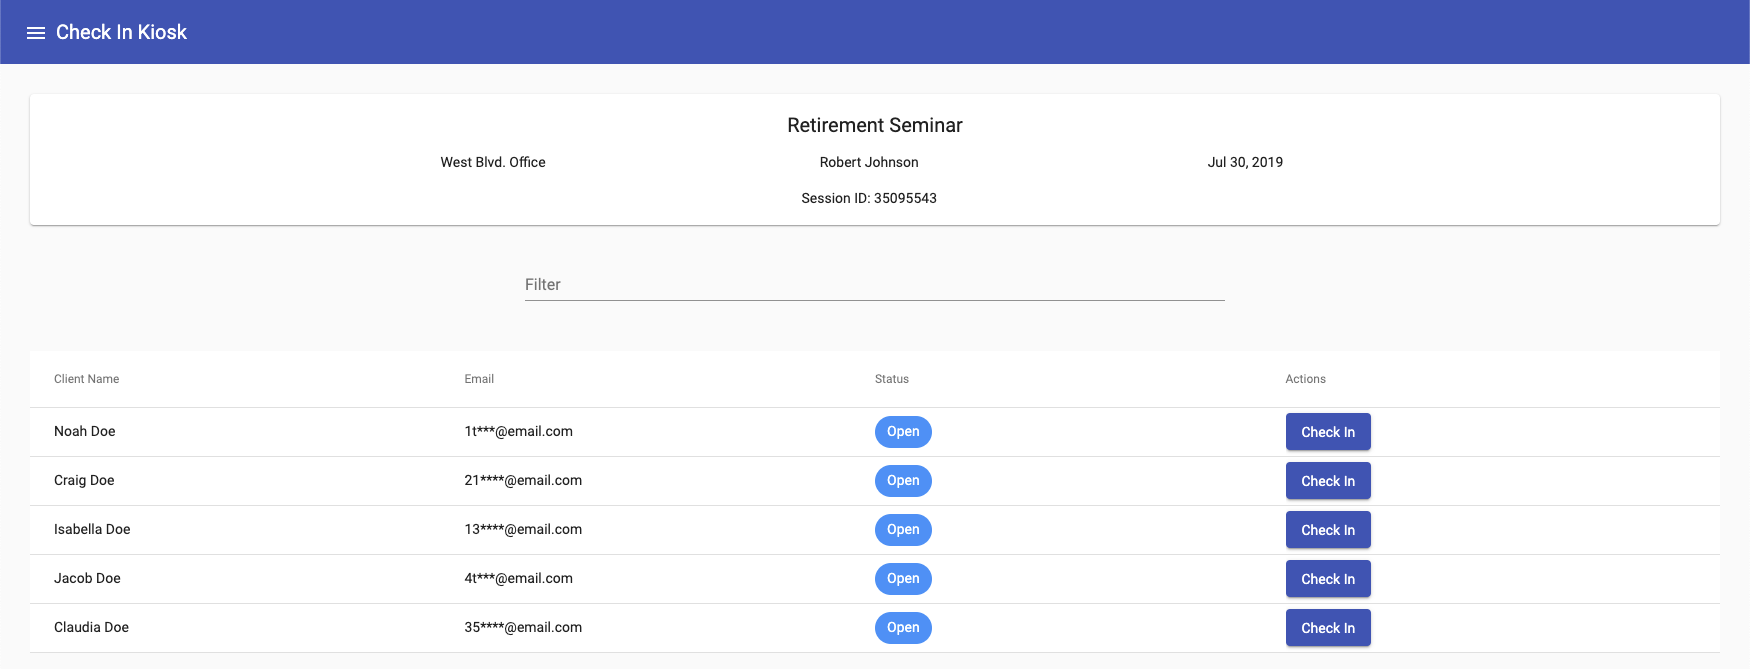
Once credentials have been entered, the Check In Screen will load the list the attendees of the class session you launched the page from.
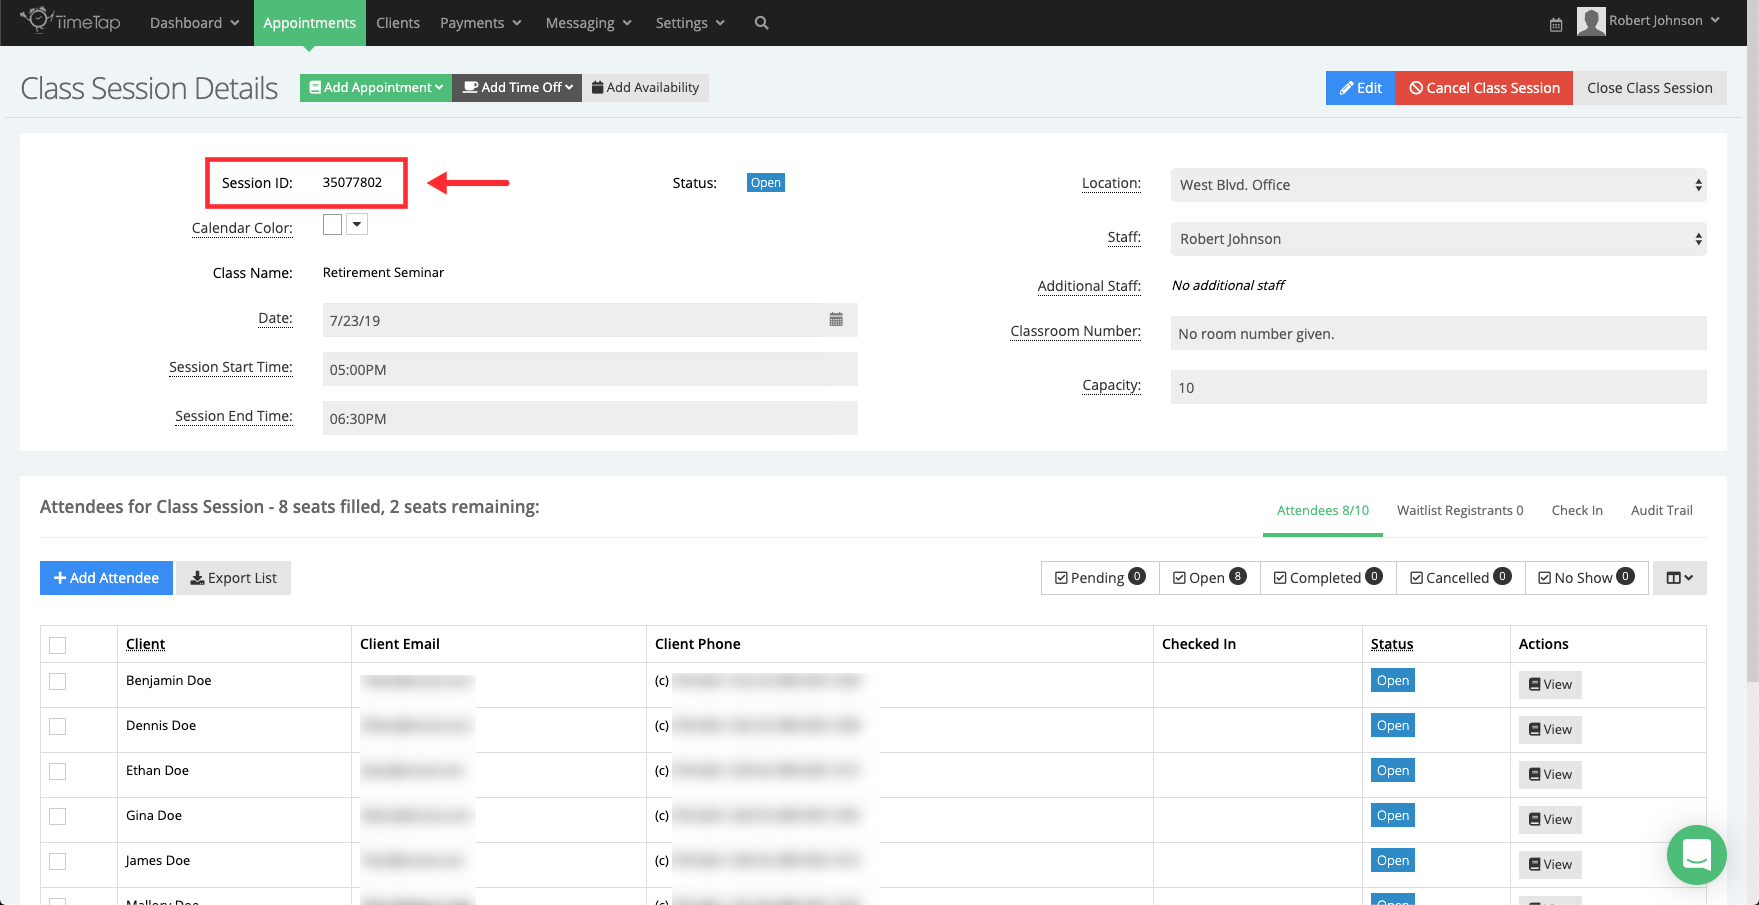
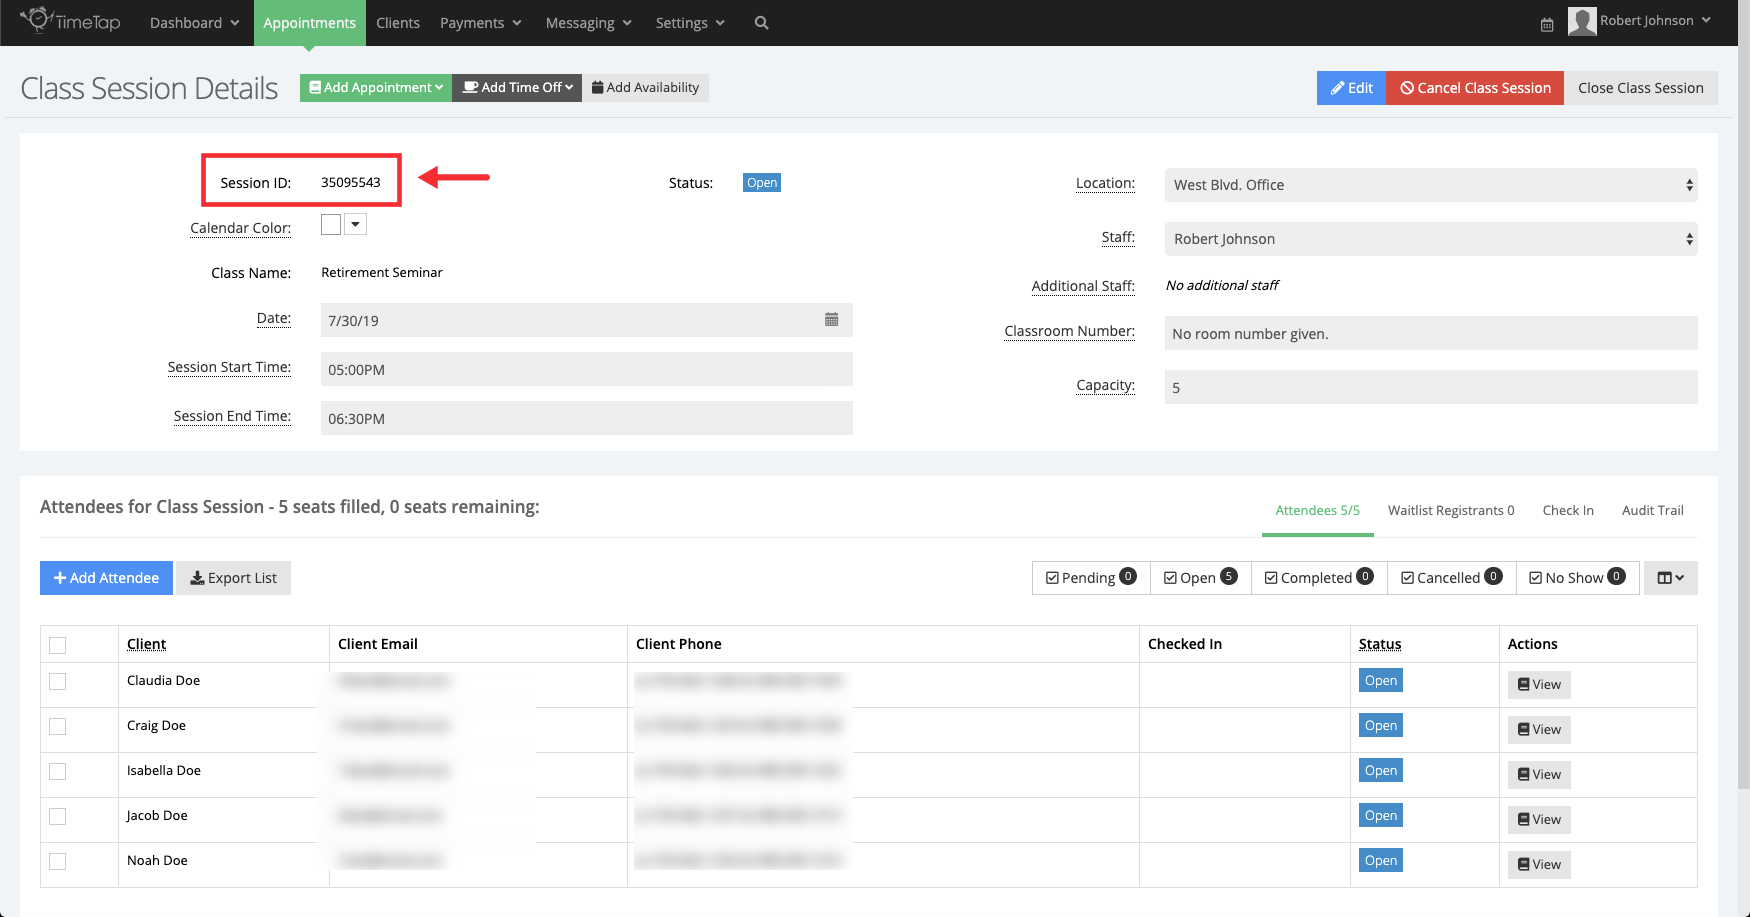
You can compare the Class Session ID in the Backoffice to the one shown on the Check In Screen to ensure the correct class session loaded:
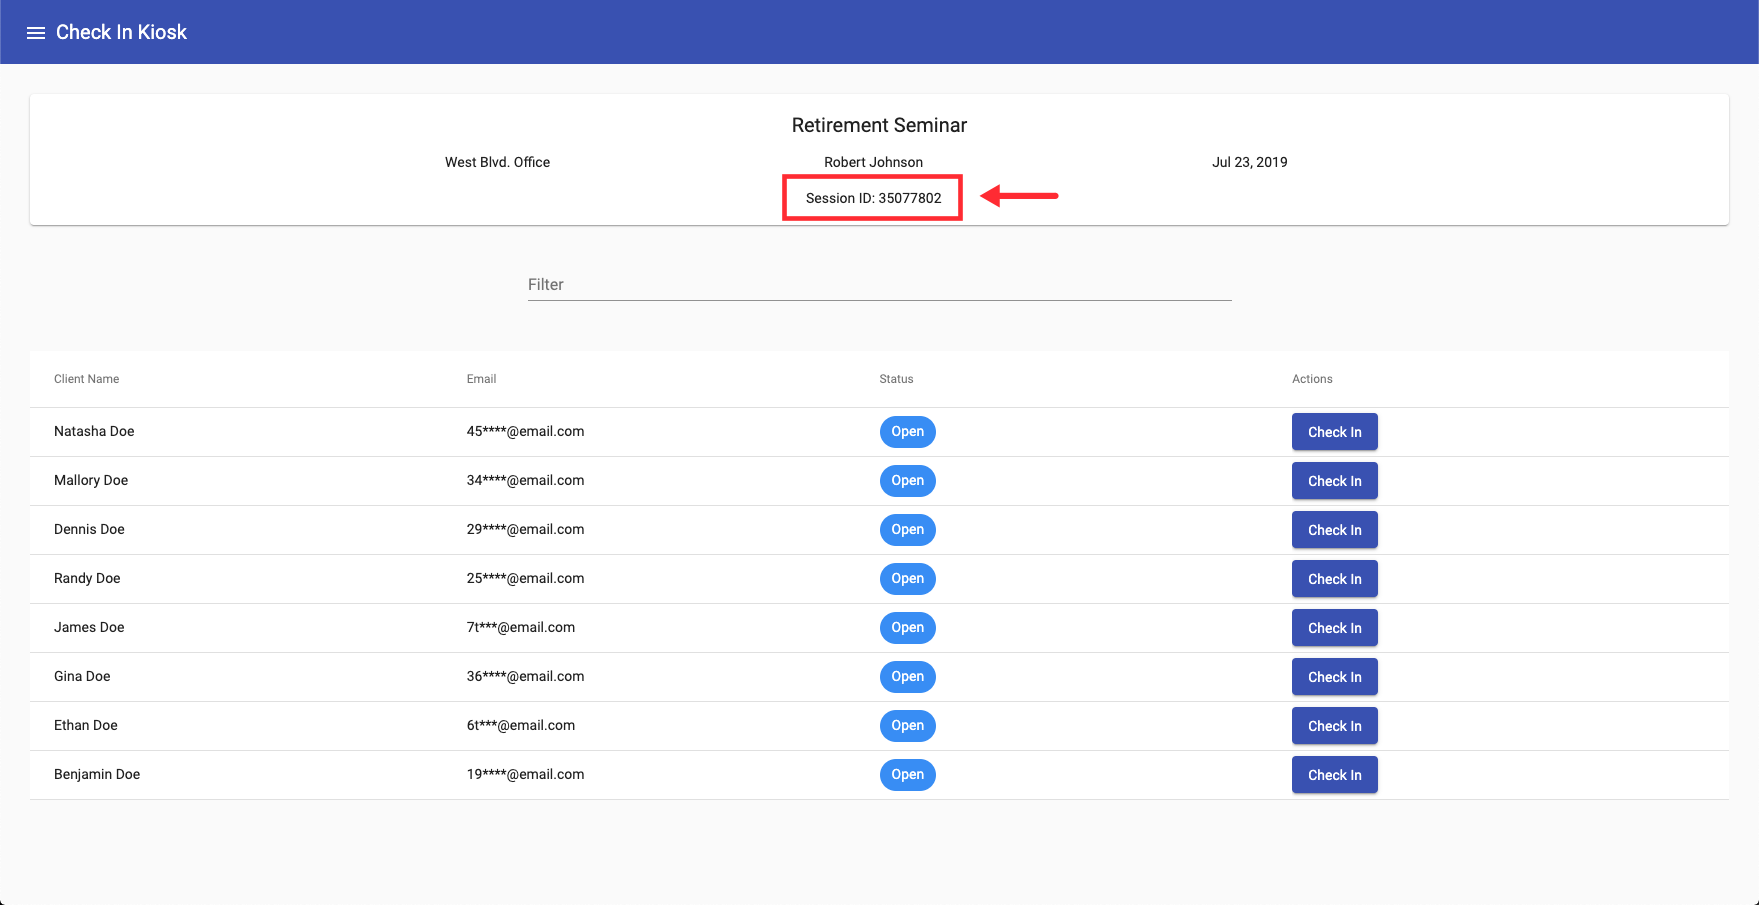
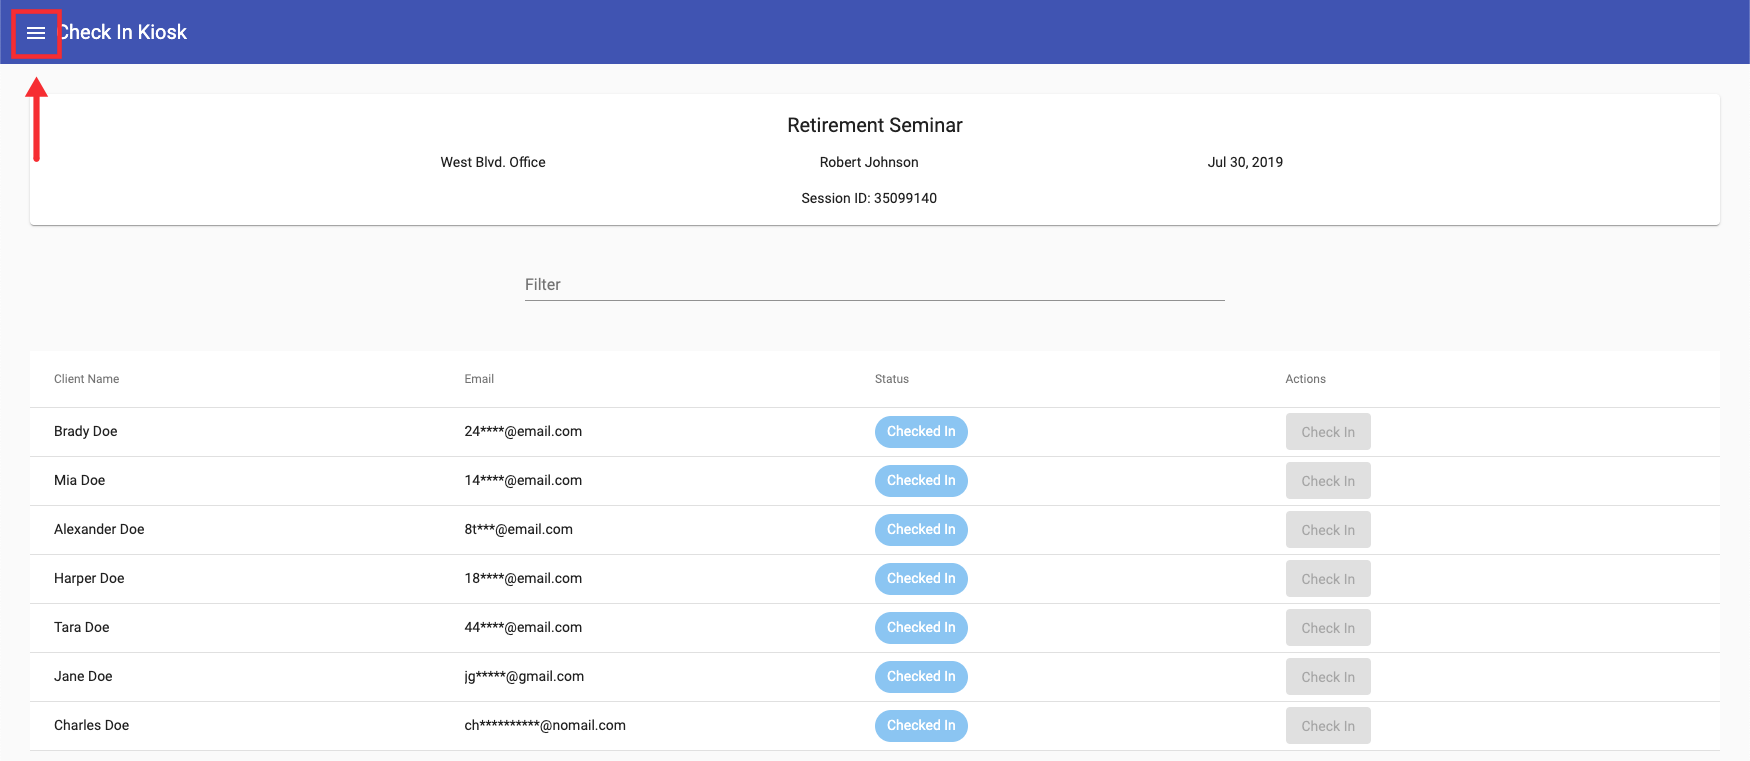
The upper section of the Check In Screen displays:
- The class name
- The location where the class session is taking place
- The staff leading the class session
- The class session ID
- The date when the class session is taking place

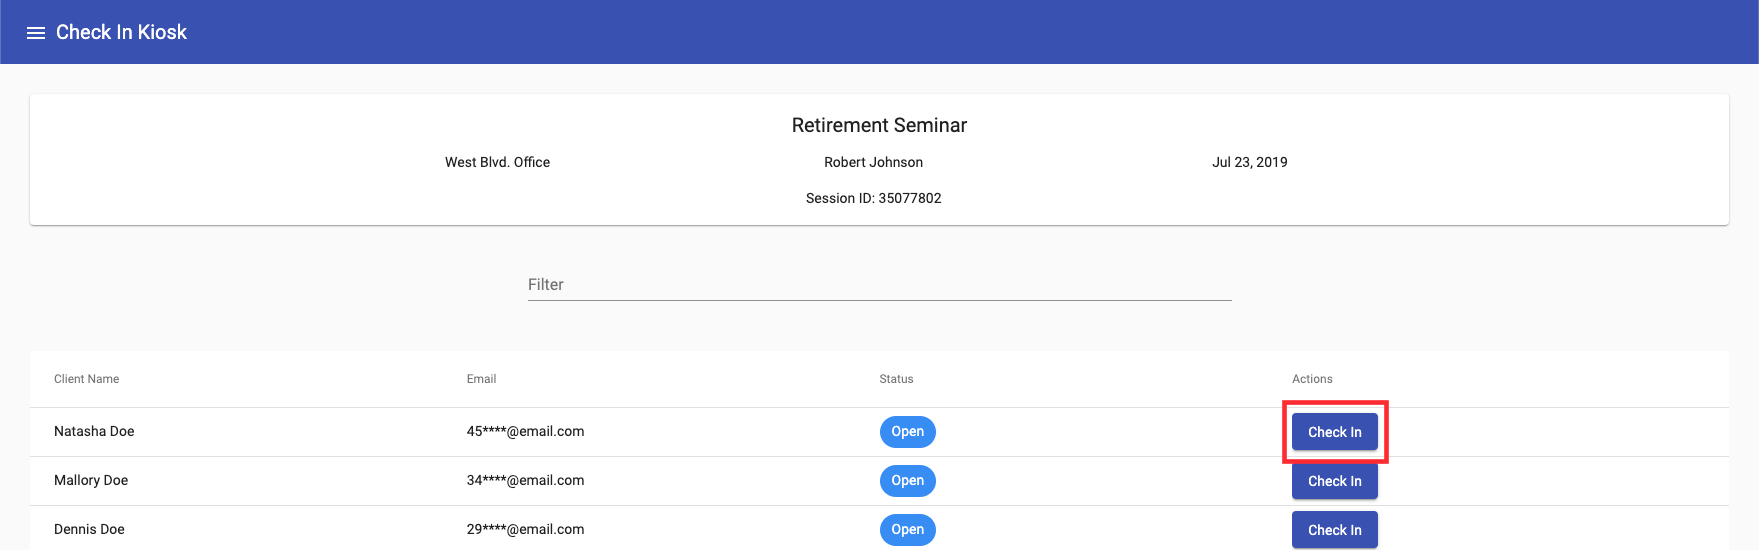
The lower section of the Check In Screen displays the list of attendees in that session, as well as a Filter field where clients can enter their Name or Email to further help locate their appointment: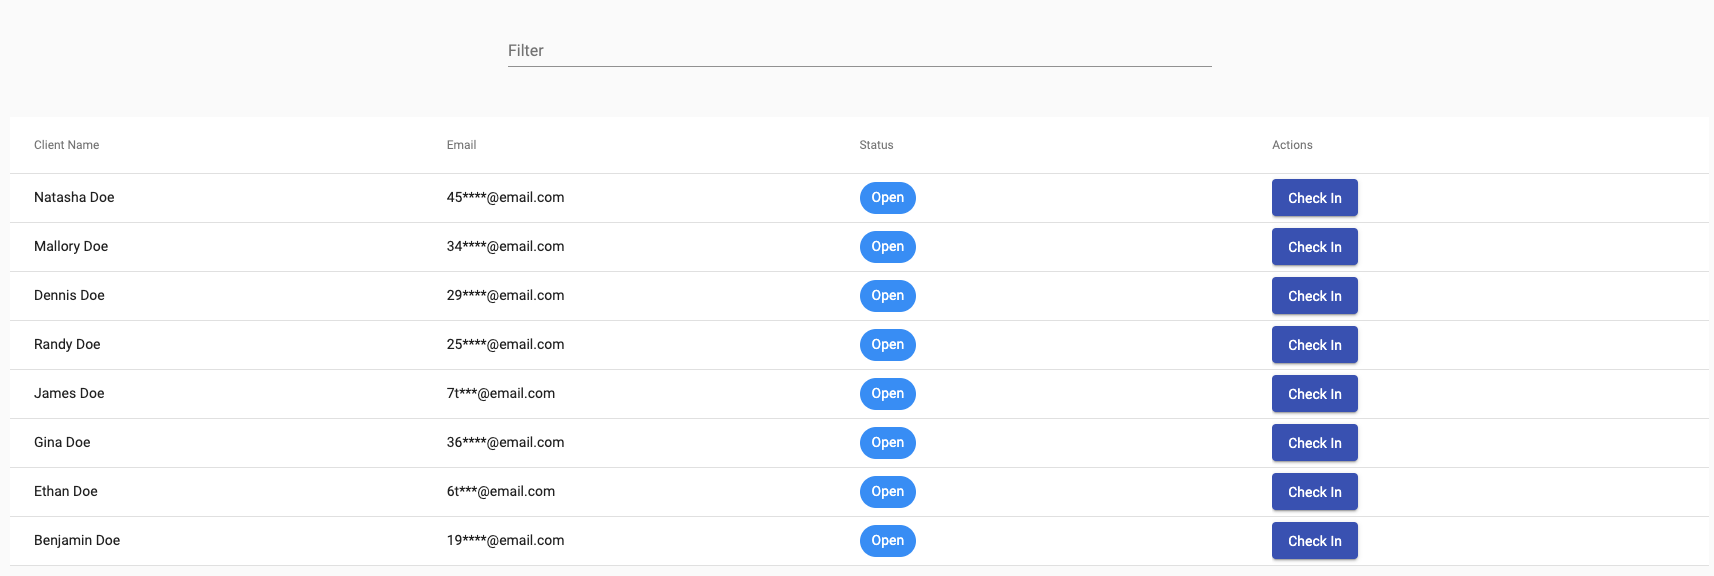
From the list of attendees, clients can click the Check In button next to their name to move their appointment to a Checked In status:
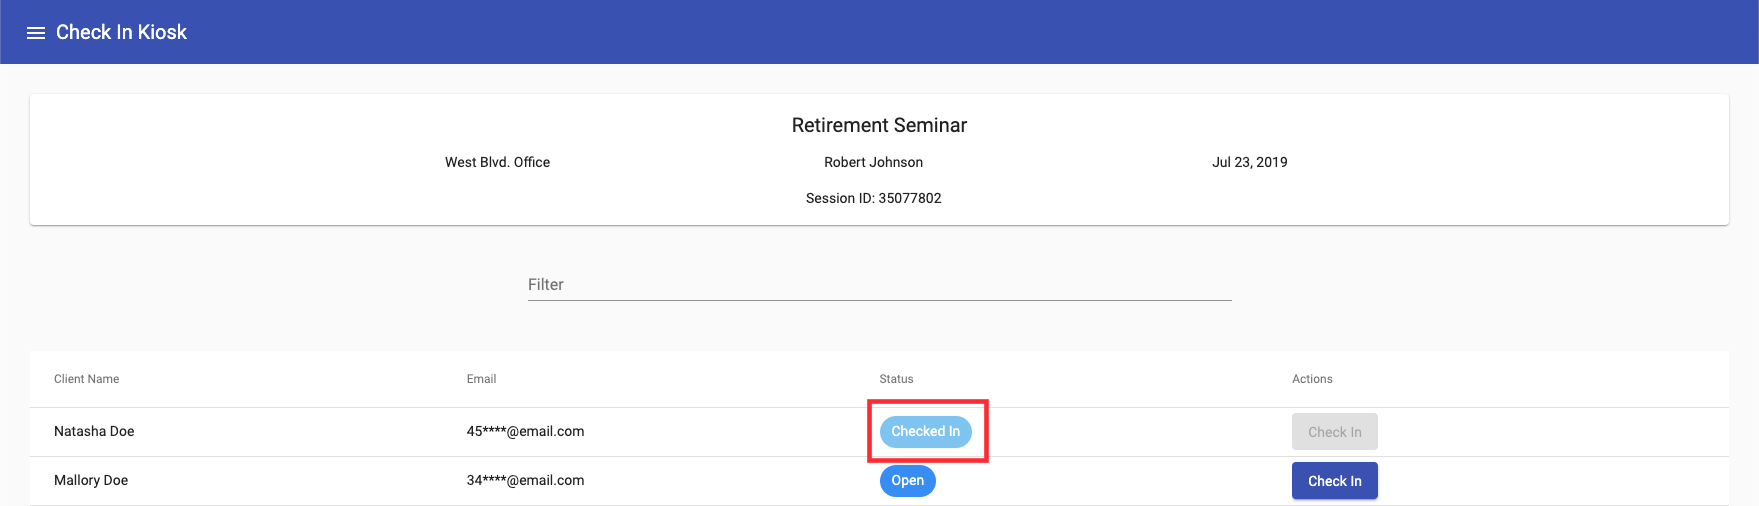
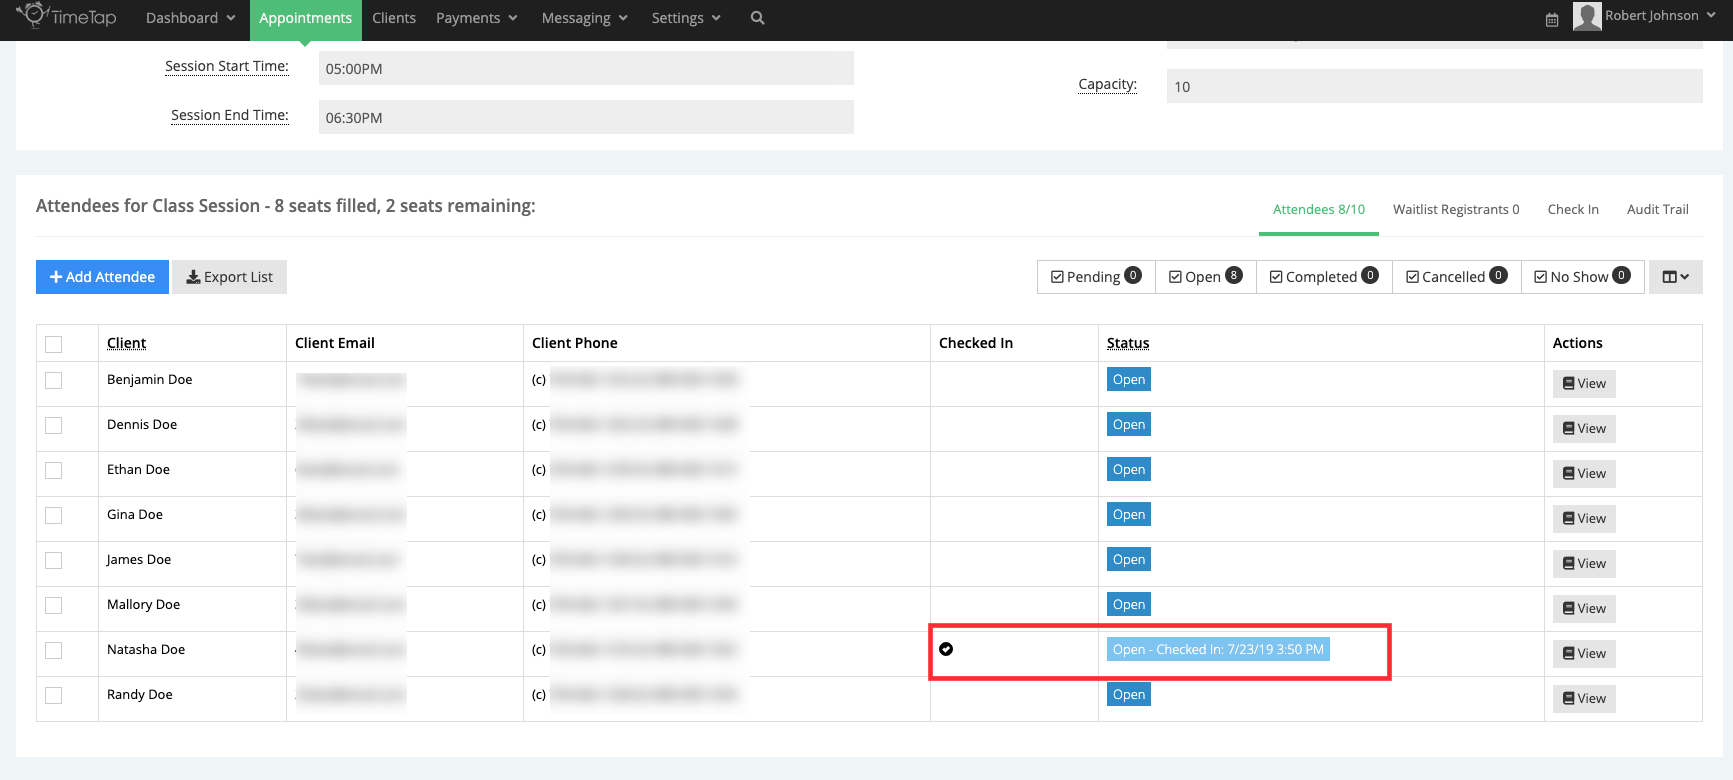
After the Check In button is clicked, the status of the appointment will be changed from Open to Checked In. Their status on the Class Session Details page also updates to confirm this change:
To allow walk in registrations, first click the Edit button on the Check In tab, enable the checkbox next to Allow Walk In Registration, and then click Save:

After the changes are saved, click the 'Launch Check In' button to launch the Check In Screen and notice the Register Now button showing in the upper section.
Clients can click this button to begin the registration process:
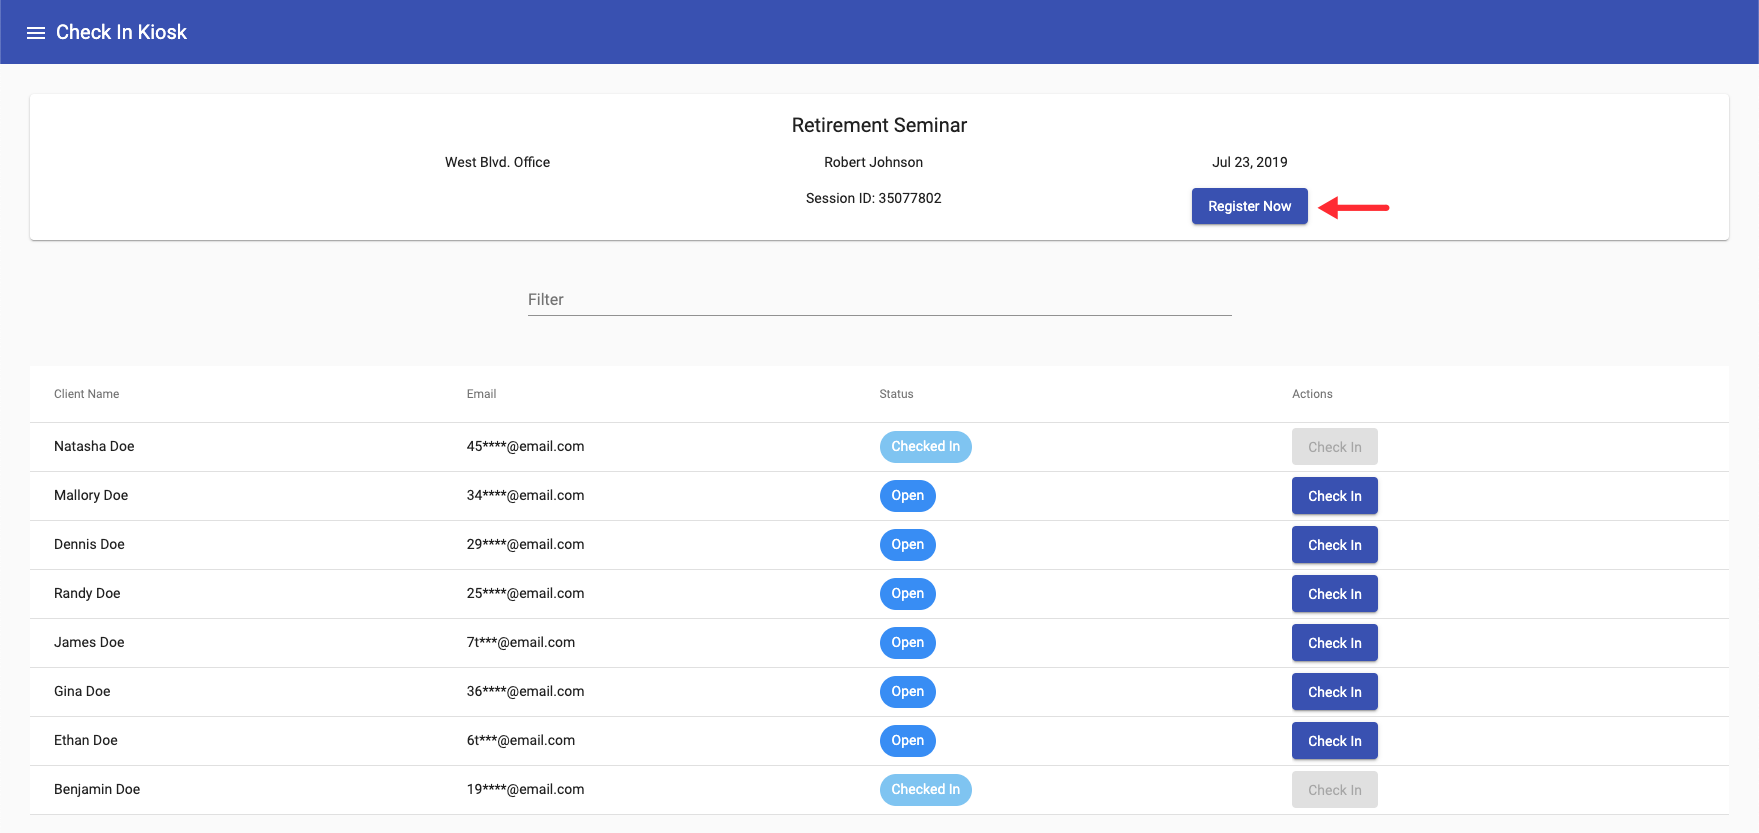
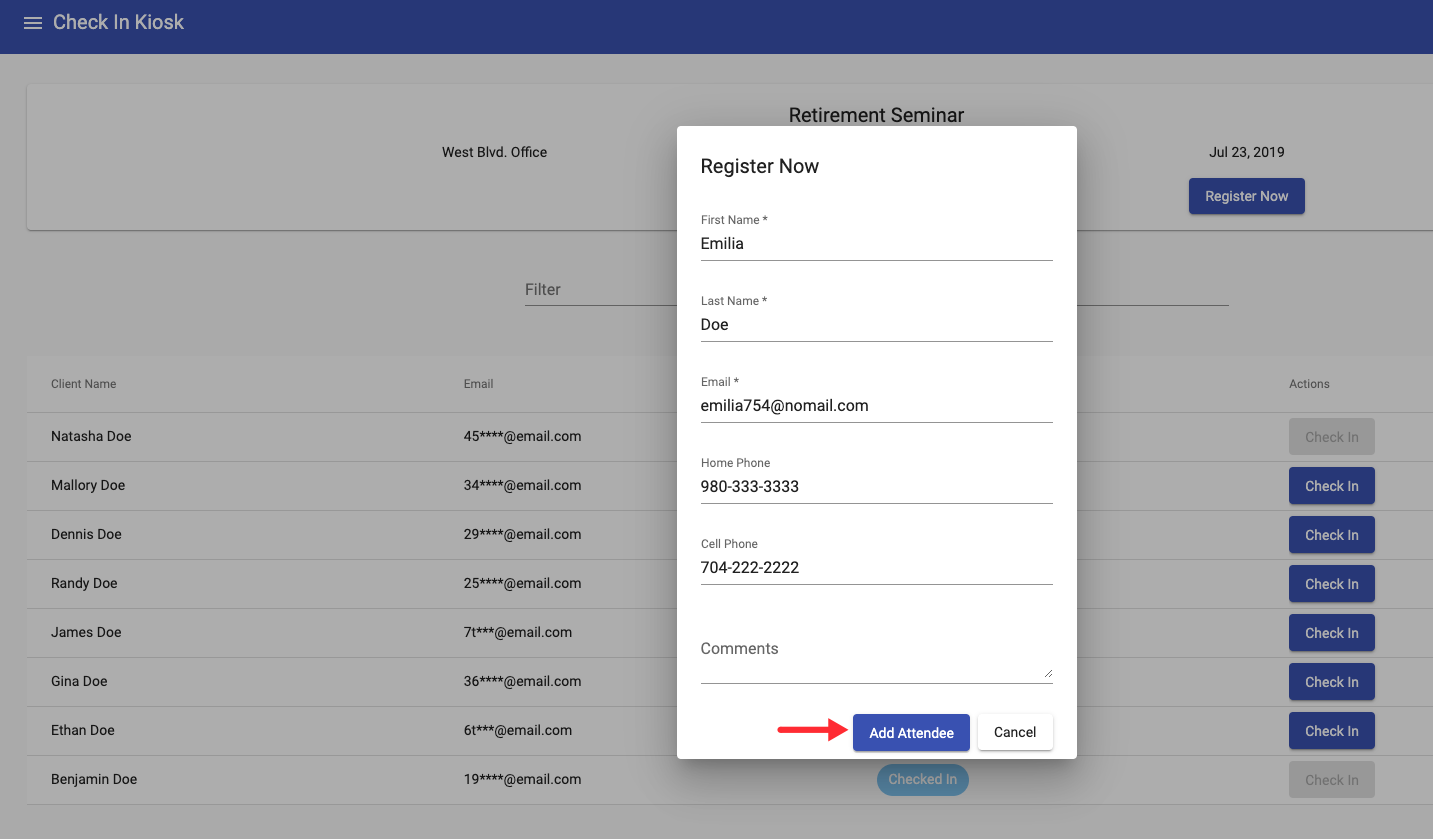
When the Register Now button is selected, a new window will appear where clients will be asked to enter their information and any custom fields that may have been assigned to the class.
After all the required fields are completed, clients will have to click Add Attendee to register for the class session listed on the Check In Screen:
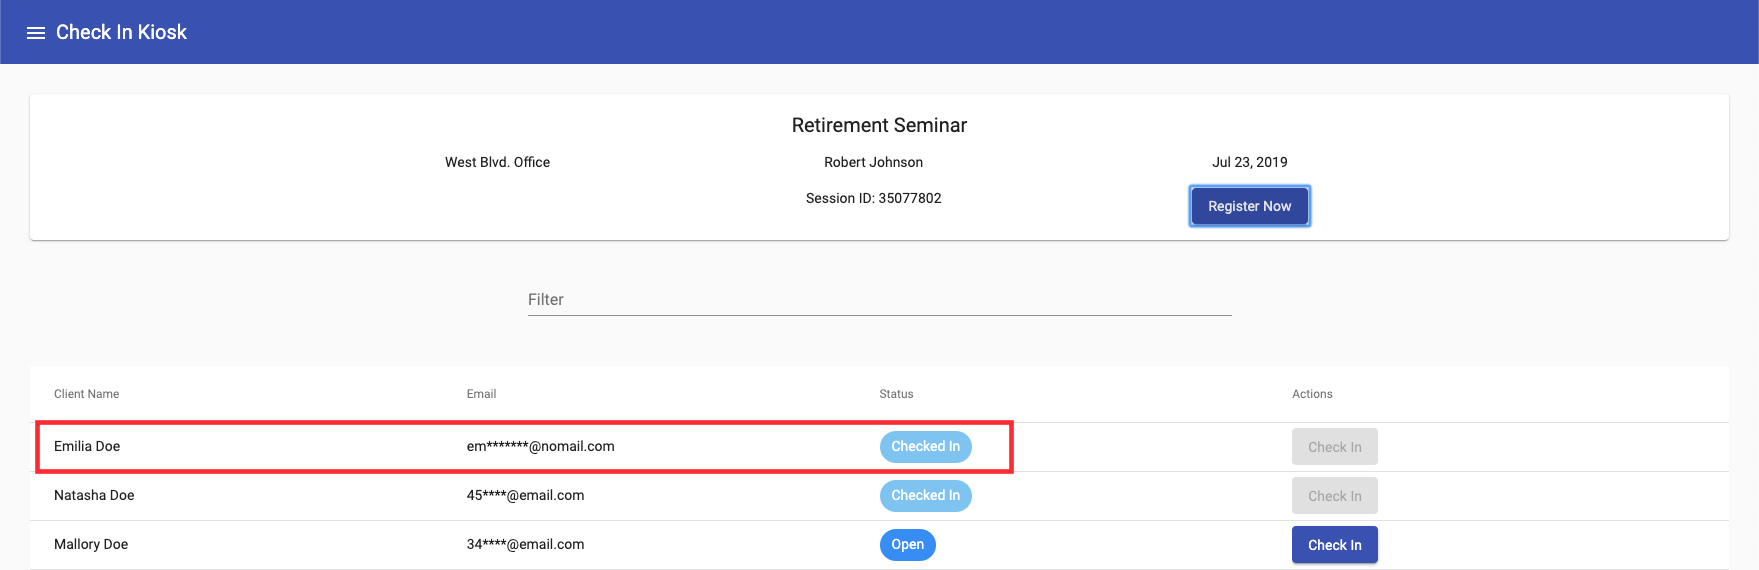
Next, the client will be added to the list of attendees and and he/she will be automatically checked in:
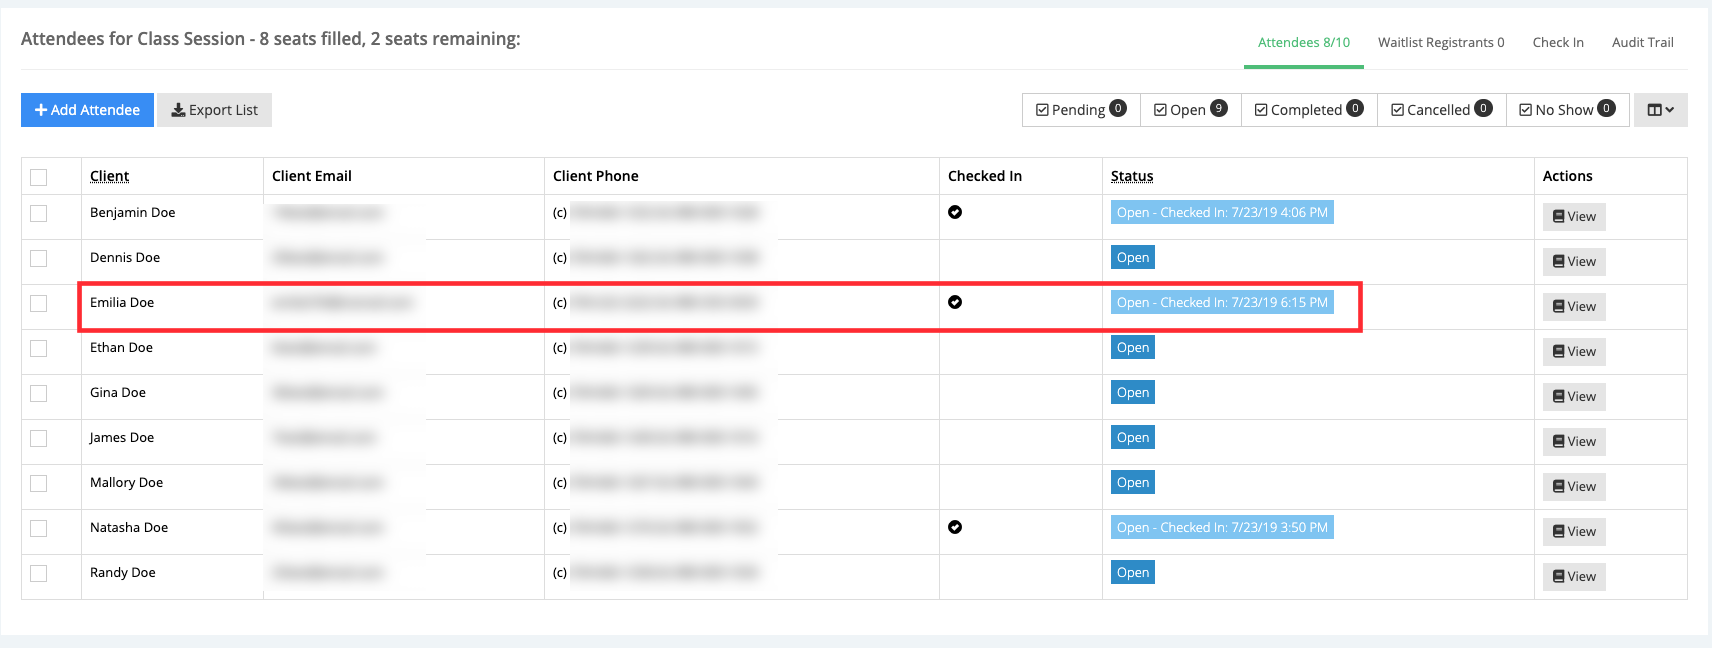
The client's name can also be added to the list of attendees when viewing the Class Session Details in the Backoffice:
When viewing the Check In Screen, click the Menu ( ) icon:
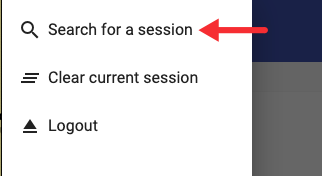
Click the Search for a session option:
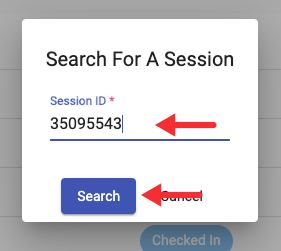
Enter the Session ID in the corresponding field and click Search:
The Check In Screen will update and clients will now be able to check in and register for that new session:
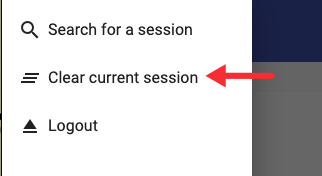
If you want to clear the Check In Screen once all your clients have checked in, click the Menu () icon and choose the Clear current session option:
Click the Clear current session option:
The Check In Kiosk screen will clear and you'll be given the option to search for a new class session:

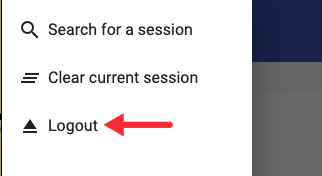
If you want to to log out of the Check In Screen once all your clients have checked in, click the Menu () icon:
Click the Logout option:
You'll be logged out the Check In Kiosk screen, where you can then log in again using your TimeTap credentials when ready to search for another class session: