You can easily add clients to the Wait List for a class session directly from the Calendar view using the Quick Add panel.
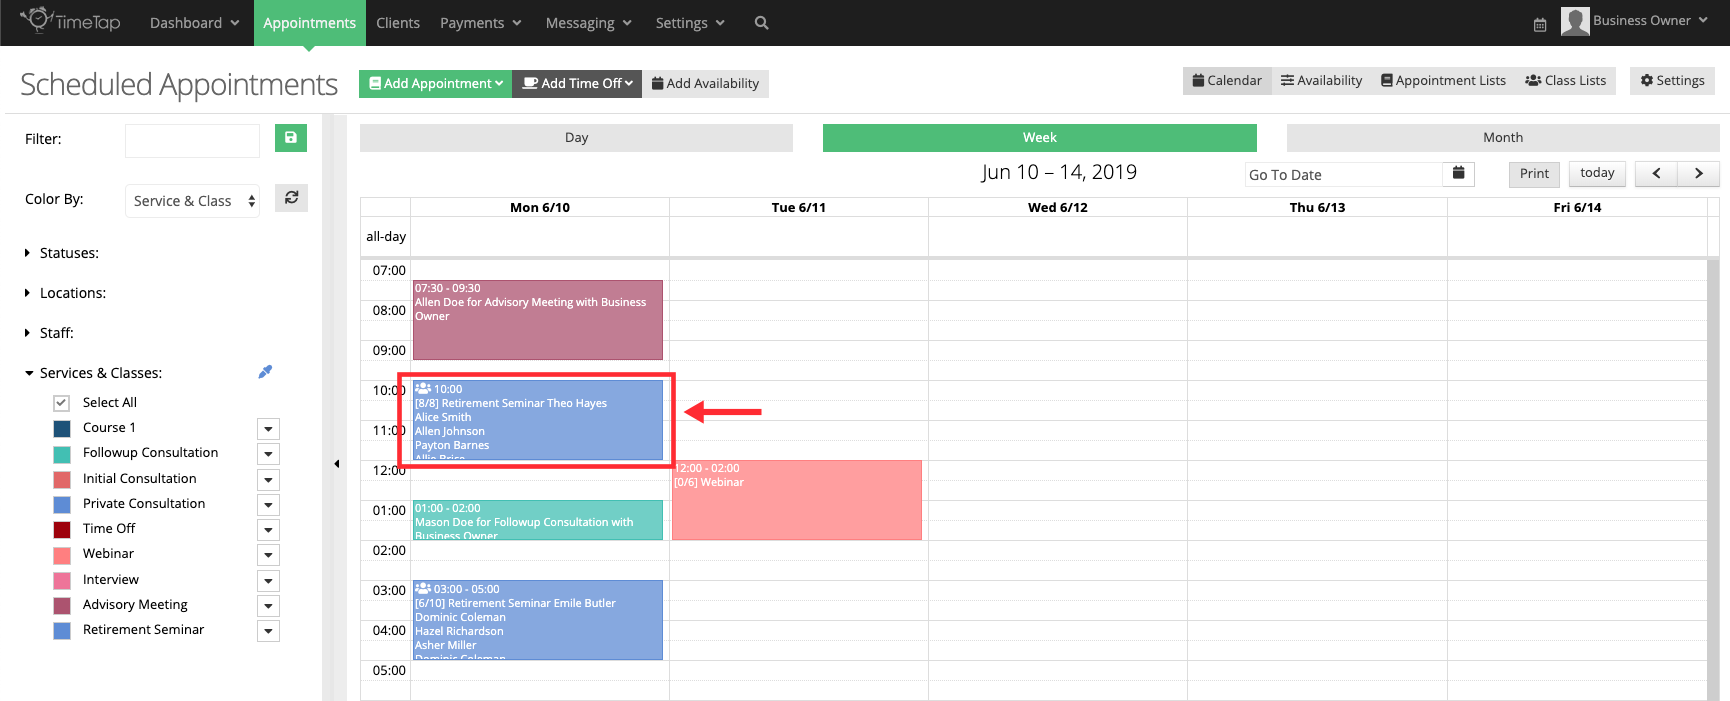
First, find the session you want to add a wait list registrant to from your Calendar view.
In the example below I clicked on a class session where the capacity has been met, all available seats have been taken:
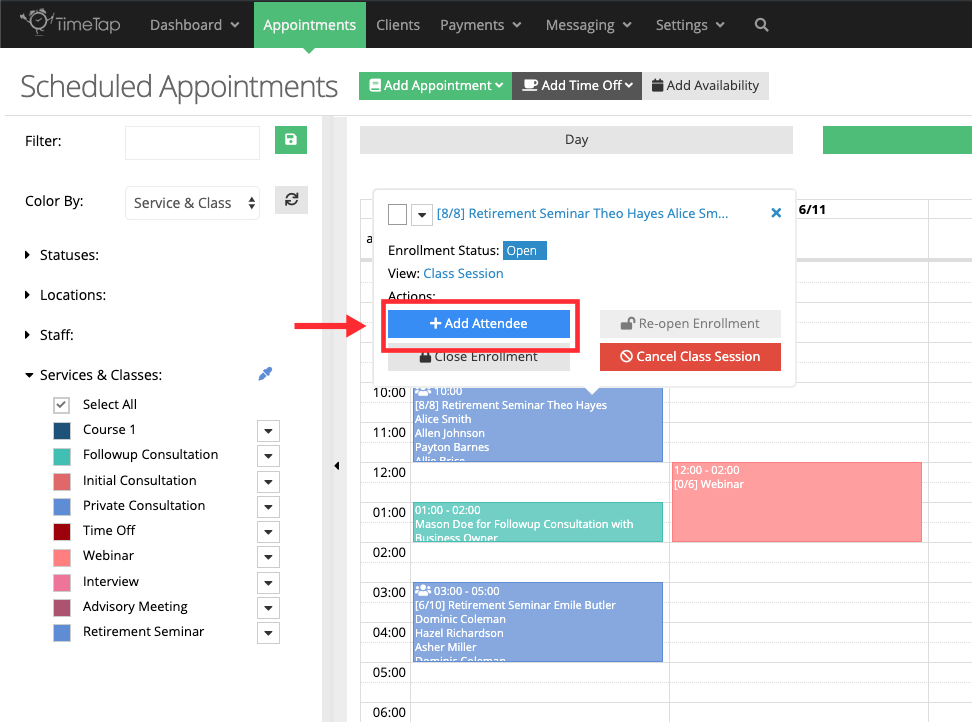
When the Quick Add panel appears, select the Add Attendee button:
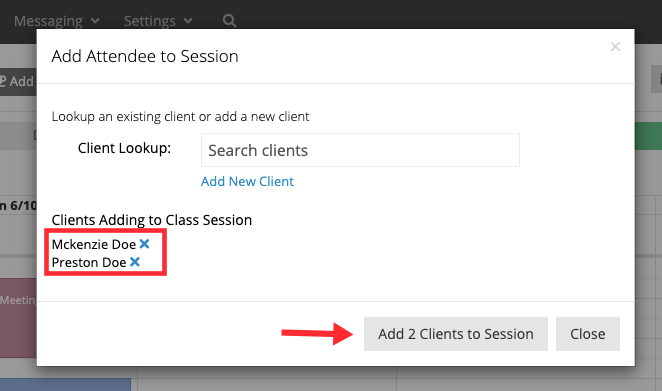
When the Add Attendee to Session panel appears, search for an existing client or choose the option to add a new one. After the client is selected their name will be added to the "Clients Adding to Class Session" section - you may choose more than 1 client to add to the class session waitlist:
After you click the Add Clients to Session button, a new window will appear where you'll have the option to Increase Capacity to allow those attendees to be added to the class or add those clients to the Wait List:
A new window will appear where you'll have the option to fill in all the class specific fields and choose who to notify about those Wait List Registrations. Click the Save Wait List Registration button after the corresponding information has been to filled in to add the clients to the waitlist and send them a notification:
If you then double click on the class session and go to Wait List Registrant tab, you'll see that the clients you selected have now been added to the waitlist:
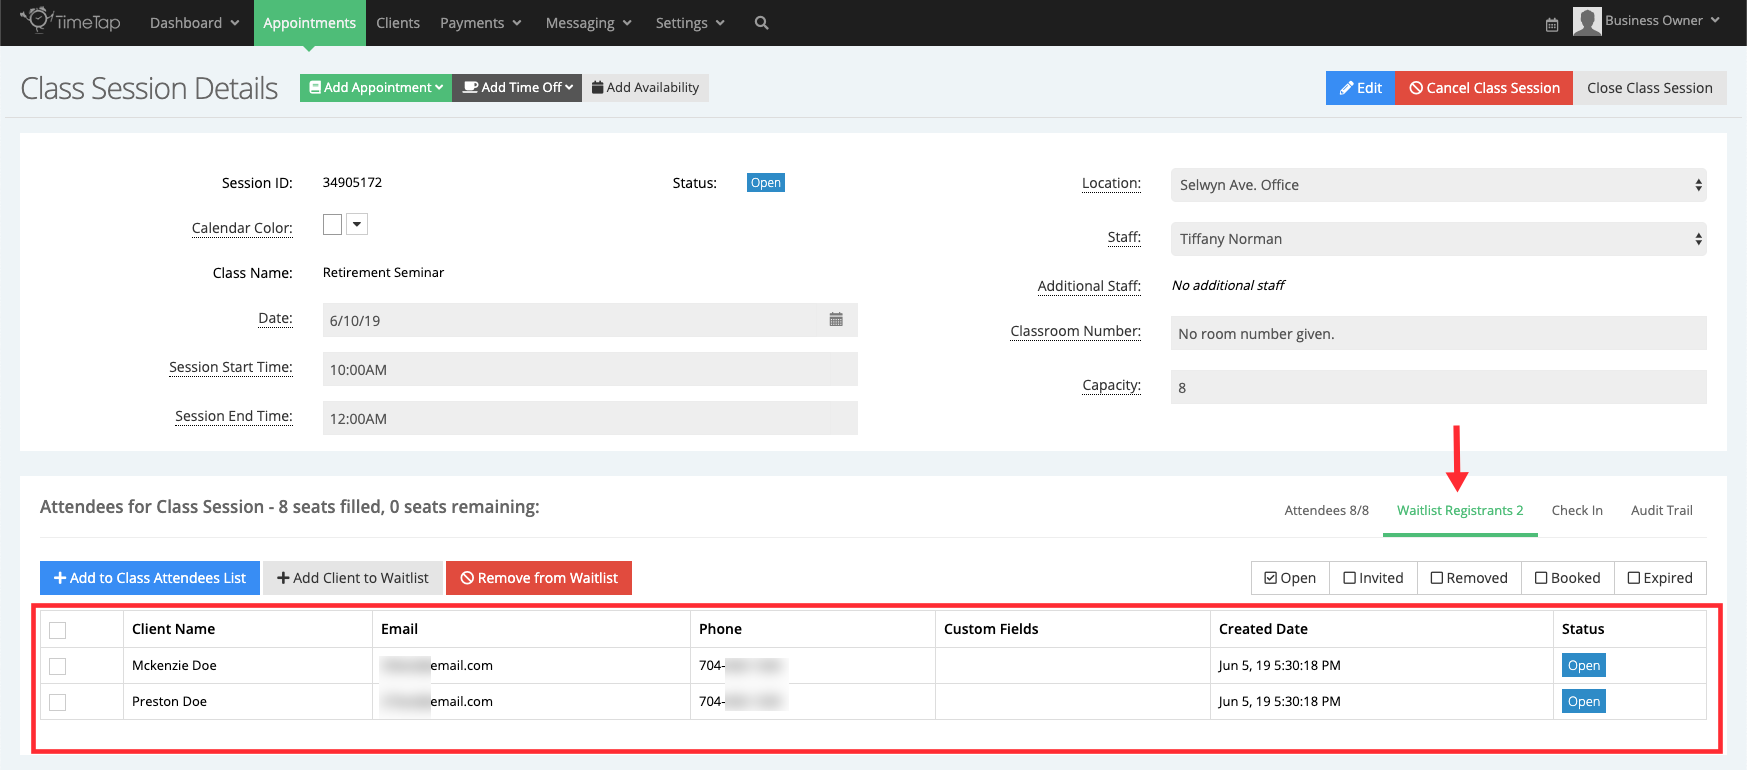
From the Waitlist Registrants tab, you can add registrants on the Wait List to the class session using the Add to Class Attendees List button. Based on your Wait List settings (Settings > Wait Lists), waitlist registrants will be automatically invited to schedule if a client cancels or reschedules their appointment.