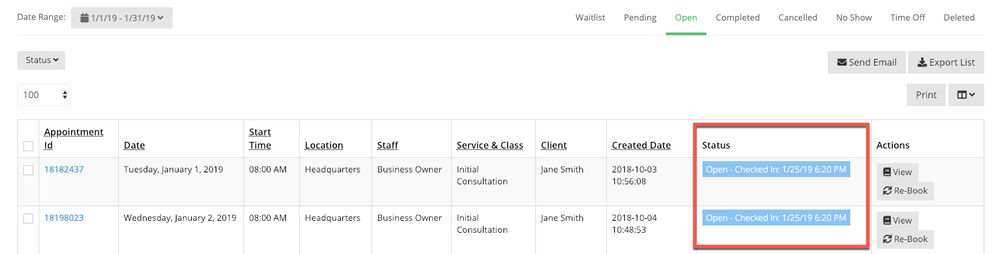
Here is what this looks like from the Appointment Detail screen for an Open appointment:
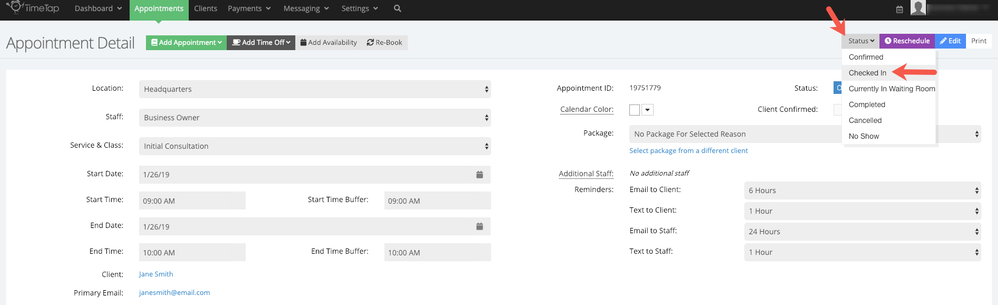
You'll then be prompted to confirm that you really want to mark this appointment as "Checked In". If you do, hit the "Change Status" button. If not, you can hit "Cancel" and it will return you to the Appointment Detail page without changing from Open to Checked In.

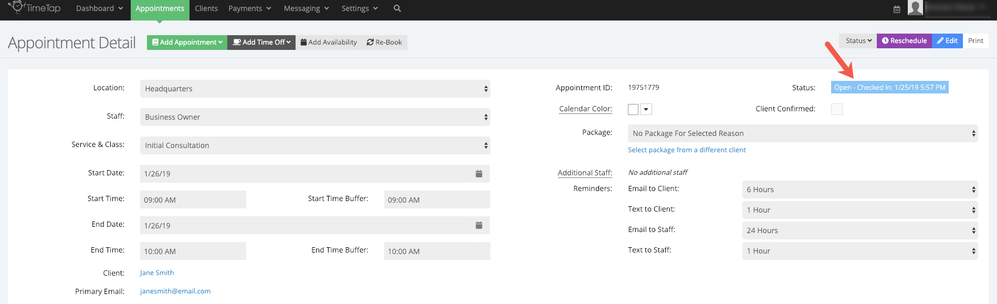
Once you confirm that you do want to check the Open Appointment in, the Appointment Detail page will update with the change. The new status will read "OPEN | Checked In:" with a timestamp for when the appointment was Checked In:
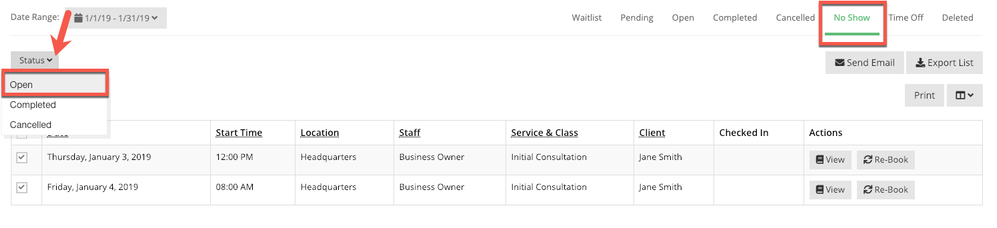
You can always change a status back to Checked In if you had previously marked it otherwise. This may happen if you have waited for several minutes for a client to come for his/her appointment and after a certain period of time, you mark them as No Show. If they show up after that, you can mark the appointment as Open and you'll see that under Status, the Checked In option will now populate from the Status dropdown. You can simply select Checked In as you did previously to change the status accordingly.
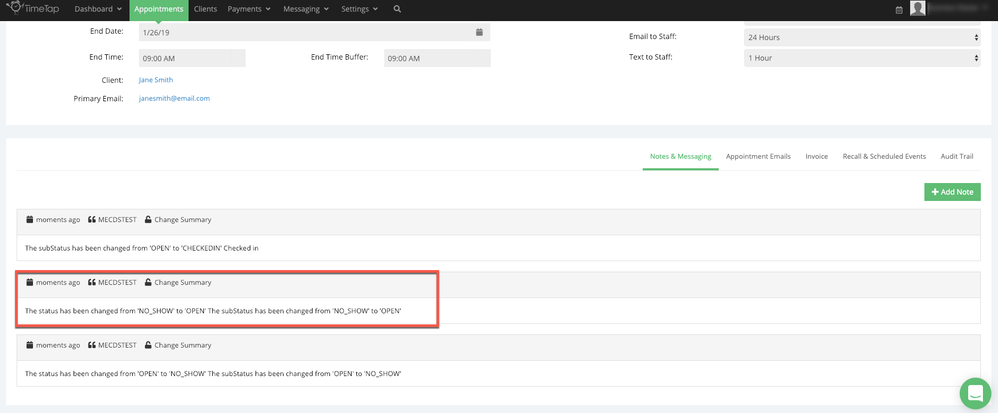
You'll receive the same prompt as before, only this time after pressing "Confirm" you will see the status change listed in the Audit Trail that it went back to "Open Status" then "Checked In."
Checking In from the Appointment Lists Page
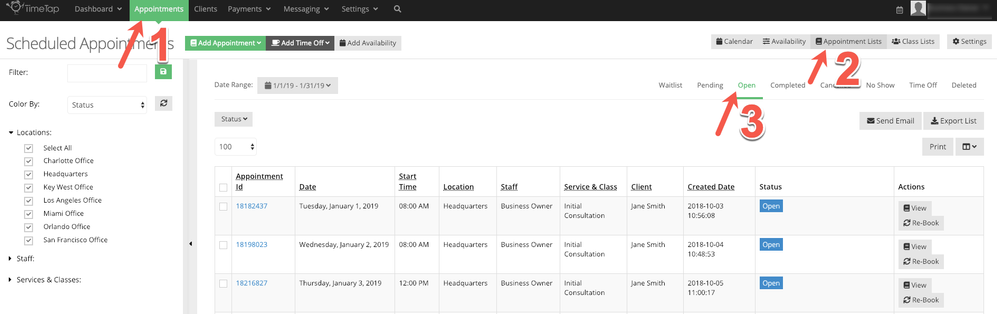
Appointments can also be marked as Checked In from the Open Appointments list view. To find this view, go to Appointments → Appointment Lists → Open:
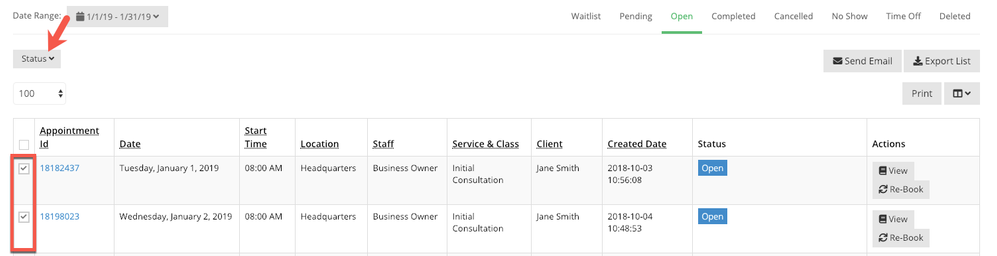
Select the appointments that you want to check in using the check boxes next to their listing in the displayed table then click the "Status" dropdown:
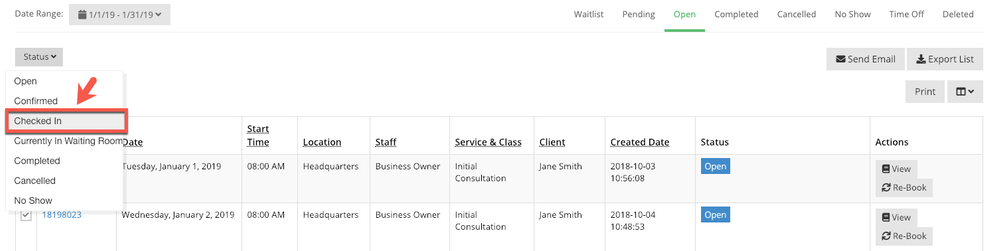
From the "Status" dropdown select Checked In:
The Check In confirmation modal will appear and you can select to Confirm you want to check the clients in:

Once you confirm that, the screen will refresh and the new status will reflect, along with a timestamp of when the change was made: