While on an appointment's detail page, you can create an invoice for that appointment in the Invoice tab or click through to view that invoice if one has already been created.
This help doc covers:
- Creating an Invoice from the Appointment Detail Page
- Viewing an Invoice from the Appointment Detail Page
You can also add an appointment to an existing invoice so long as it isn't already tied to an invoice. Documentation on how to do that is available here.
If you still have questions on how to create invoices for appointments after reading through this documentation, please contact our support team and we'd be happy to help.
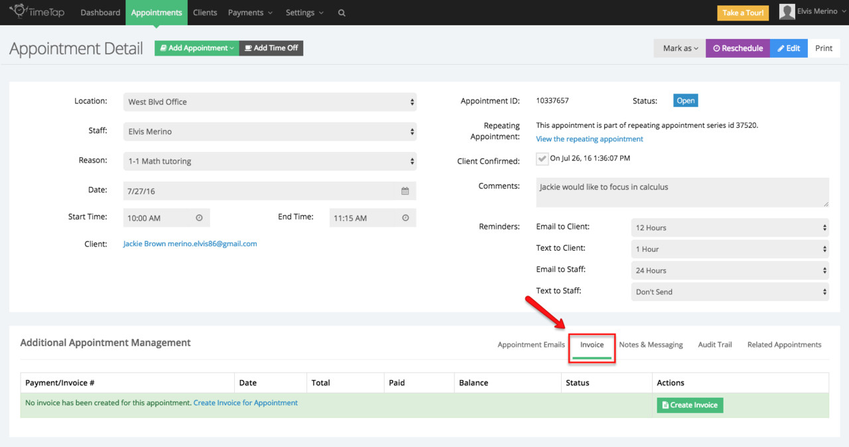
Once in the Invoice tab click the Create Invoice button:

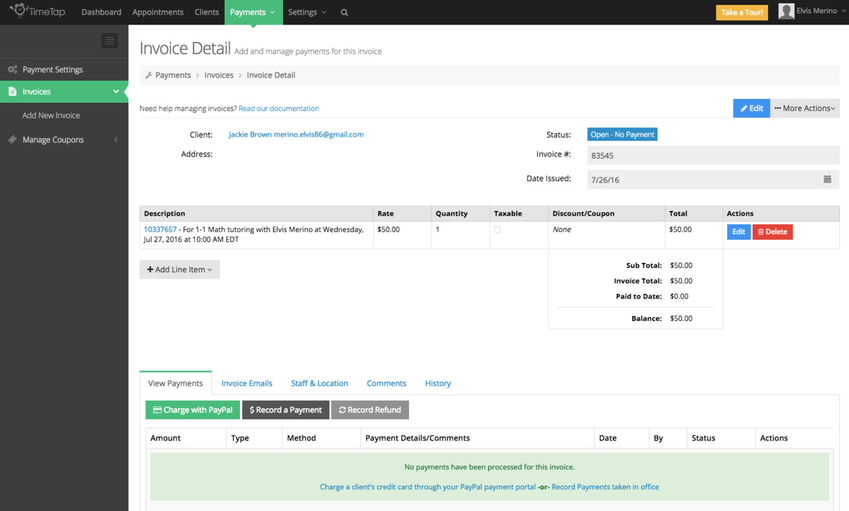
You will then be redirected to the invoice detail page, where an invoice will be created with the appointment automatically added as a line item to that invoice. You can then make additional modifications to this invoice if needed:
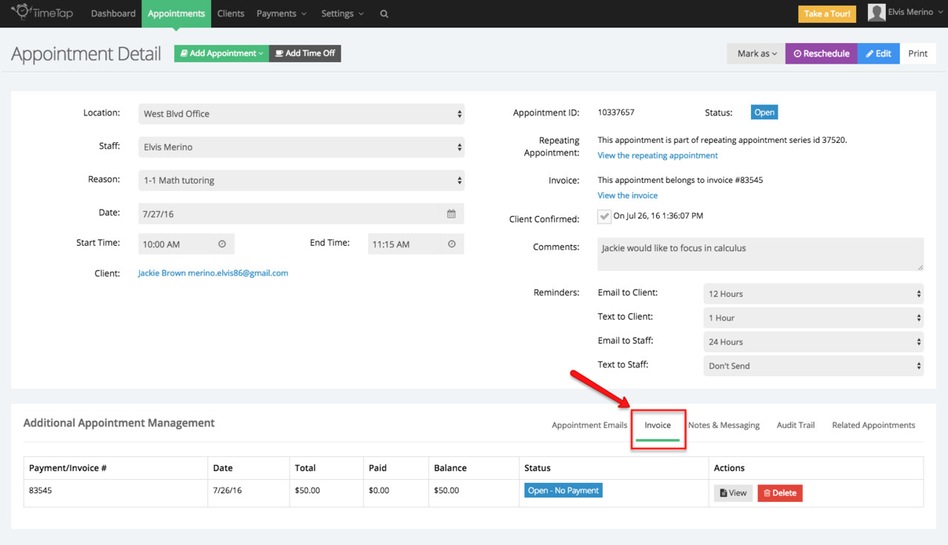
While in the Invoice tab you can click the View button to see the invoice details:

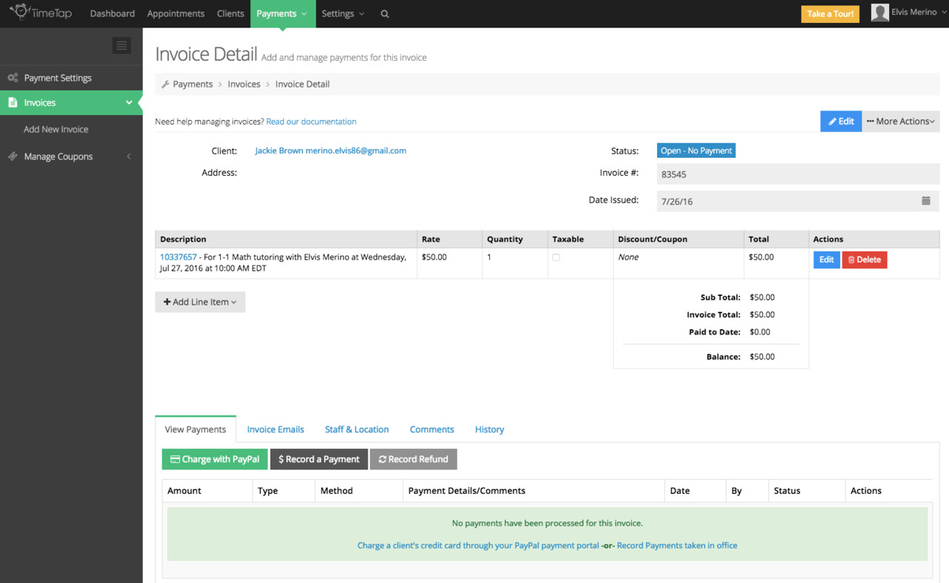
You will be redirected to the invoice detail page, where an invoice will be created and you can make modification to this invoice:
While in the appointment detail screen, If you choose to delete the invoice, simply click the Delete button:

A new window will appear asking you to confirm your selection, click Confirm & Delete to permanently this invoice:
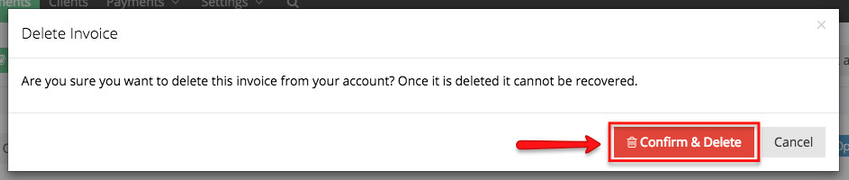
After the invoice you delete the invoice it will be removed from the Invoices tab, you can then choose to create a new invoice from the appointment detail screen.