If this is your first time using the scheduler, you might be wondering:
How does the booking process work?
What information will I need to provide?
How will I know my appointment is confirmed?
This guide walks you through each step so you know exactly what to expect.
1. Read the Welcome Message
When you open the business’s scheduling page, you’ll be greeted with a Welcome message.
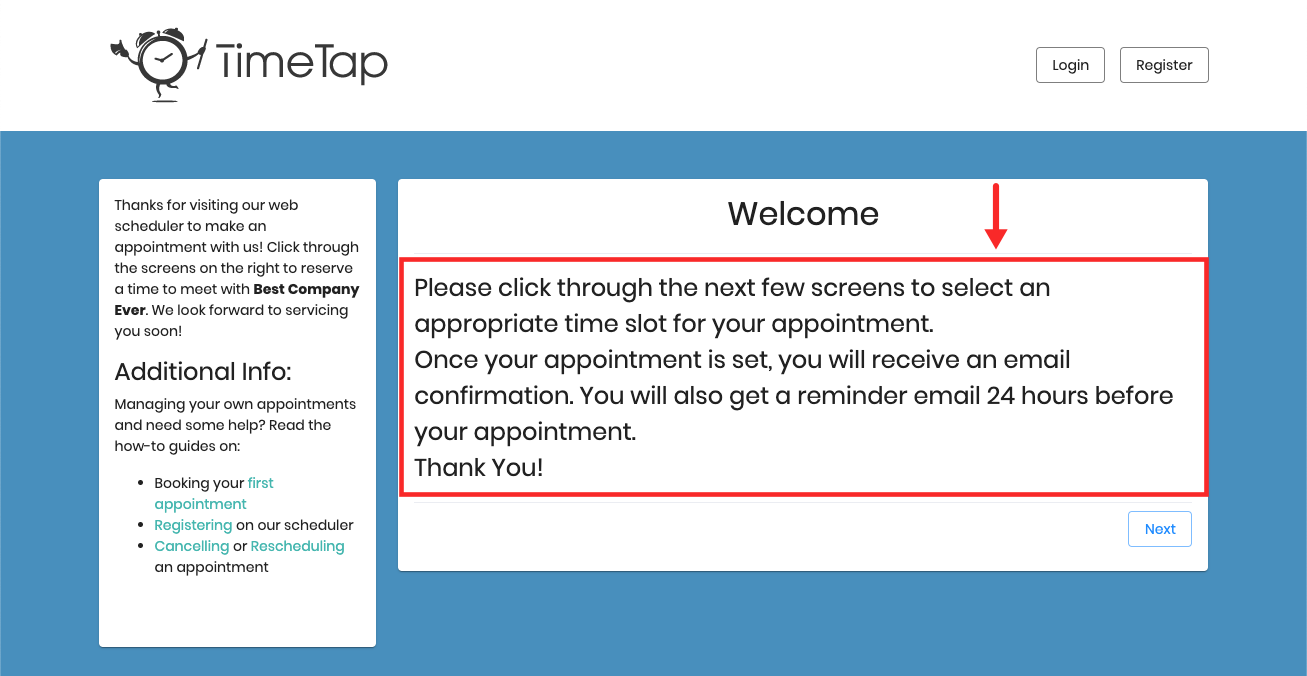
We recommend reading this message each time you book, as it may include important updates from the business about their availability, services, or policies.
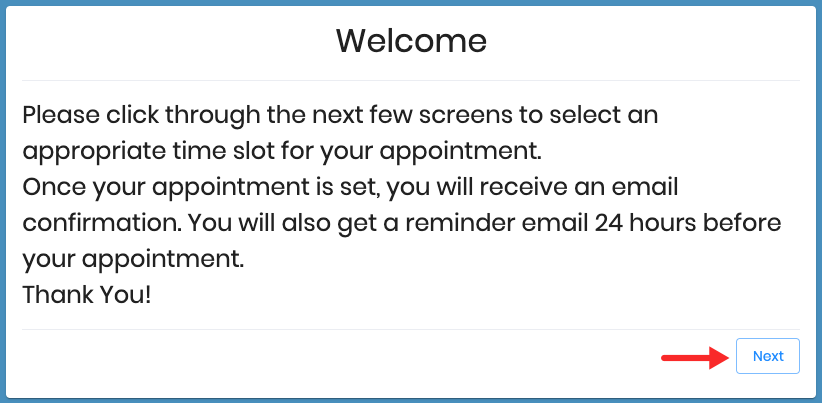
Once you’re ready, click the blue "Next" button to continue.
2. Select the Location / Staff / Service
Depending on the configurations of the business, the next panels may include the available booking options for you to choose from, like the location where the appointment will take place or which staff the appointment will be scheduled with.
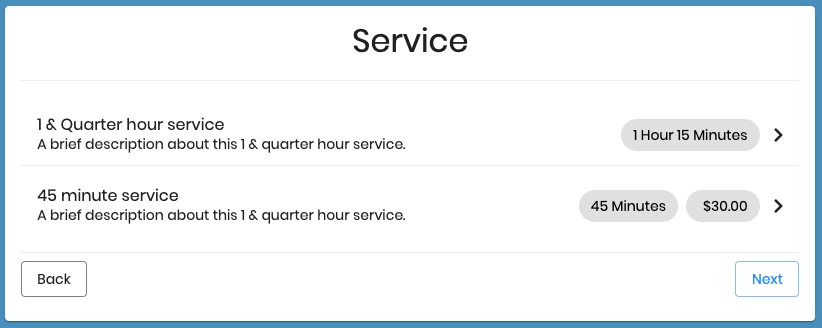
You'll also see a panel with the list of services the business offers. This could be anything from a "1 Hour Massage" to a "30 Minute Parent-Teacher Meeting", depending on the type of organization.
Each service may include:
A brief description
A listed price
The duration of the appointment
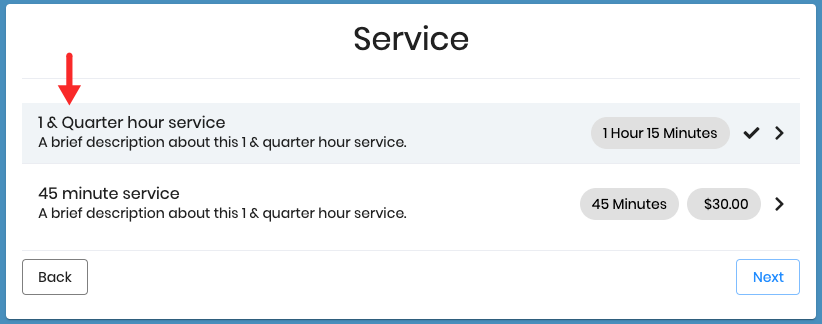
Click the service you'd like to book to move to the next step.
3. Choose a Date & Time
On the next page, you'll see a calendar on the left with the days of the week in a given month that the business is available to accept appointments, indicated by the days that are colored in. On the right you'll see the available appointment time slots for you to choose from on the selected day, highlighted by the darker color:
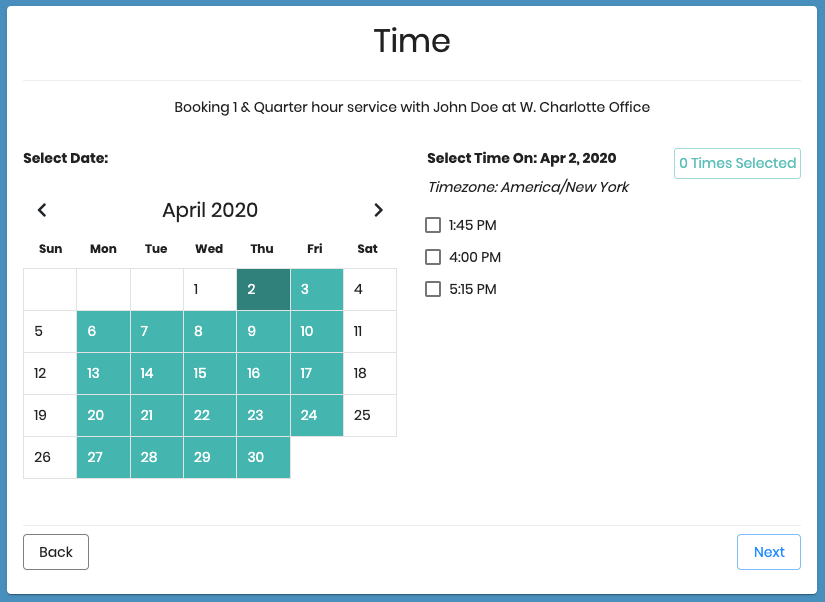
Use the arrows at the top of the calendar to scroll through months. If you’re trying to book further in advance than the business allows, you may see that appointment times are no longer available after a specific date.
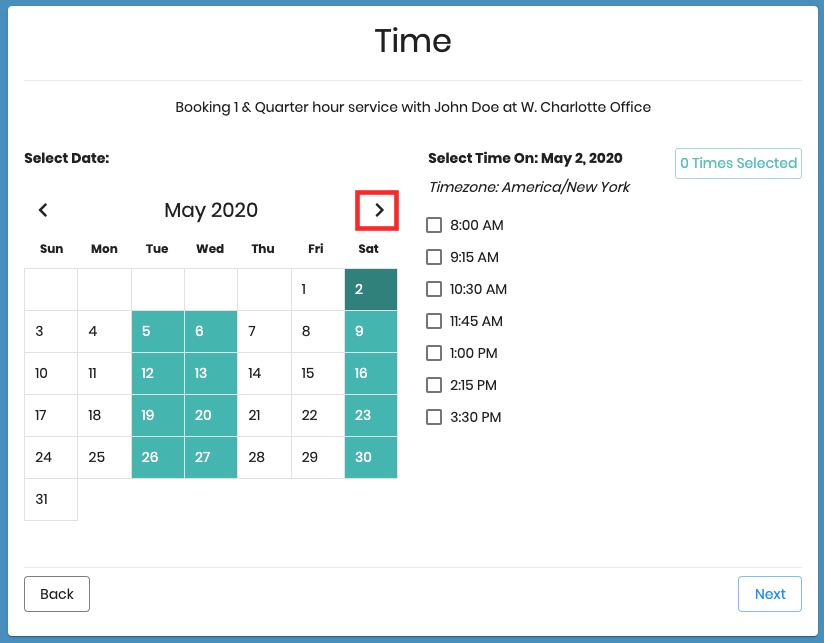
Once you've found a time that works, select it and click "Next".
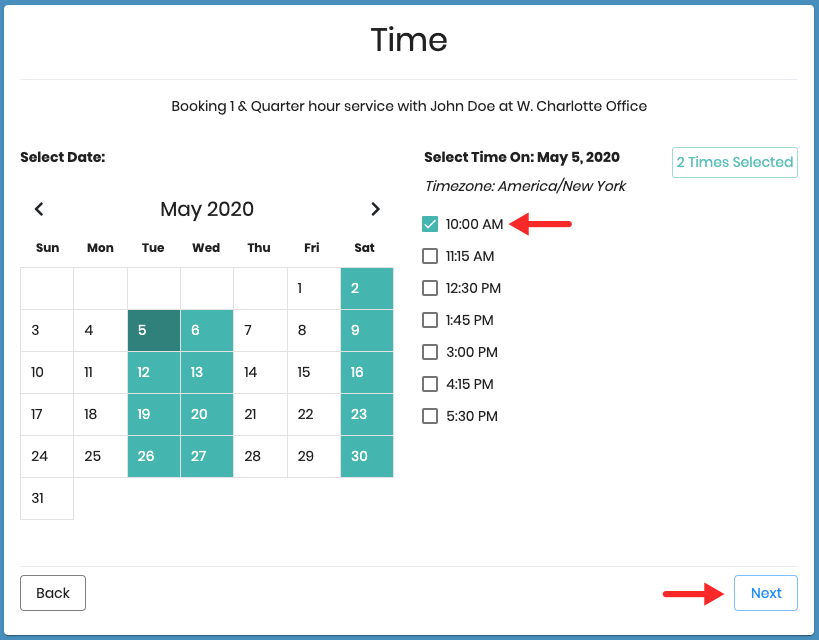
4. Enter Your Information
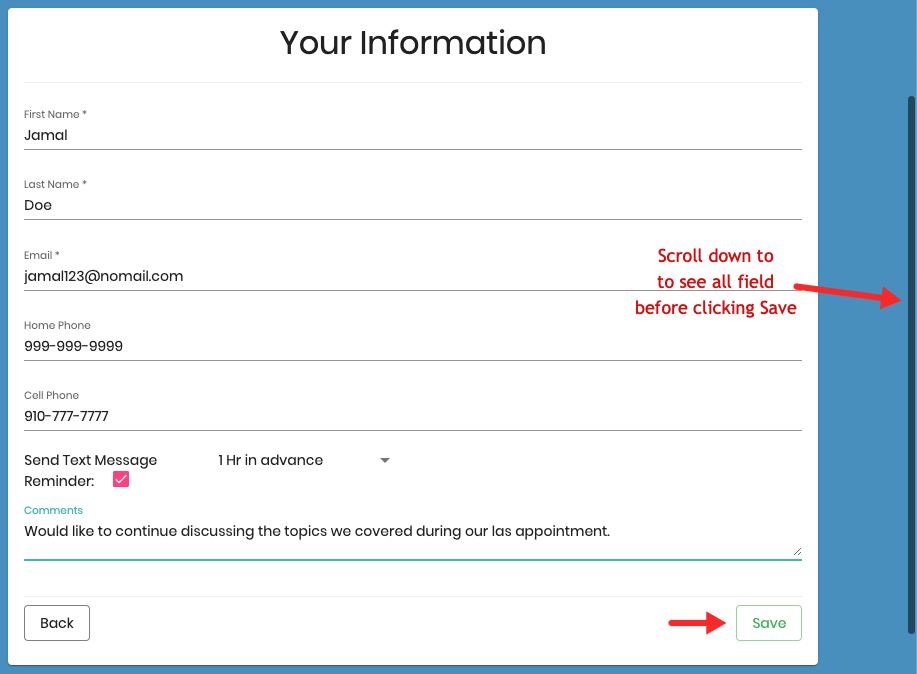
The second to last page captures your information in order to reserve the appointment time.
Any required fields are indicated by the asterisk * mark:
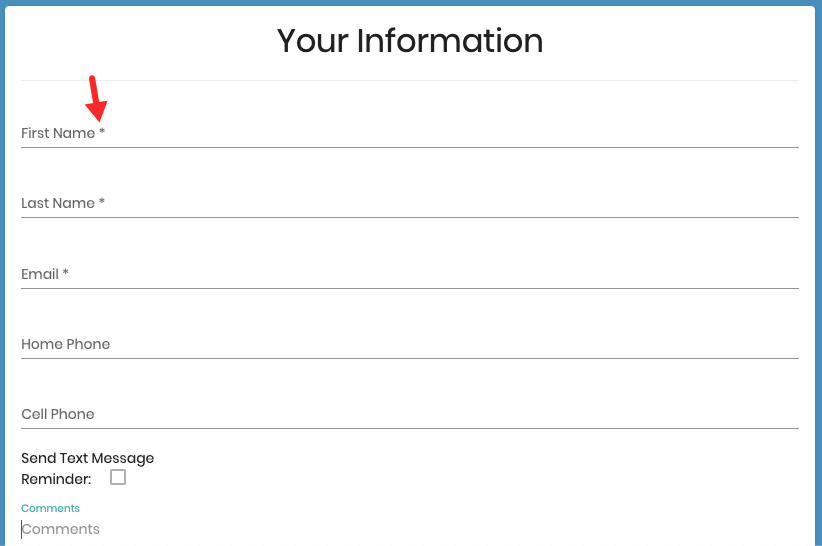
There may be additional questions as you scroll down the page, so be sure to complete everything before clicking "Save":
5. Review Final Confirmation
After saving your information, you’ll land on the Final Confirmation page.
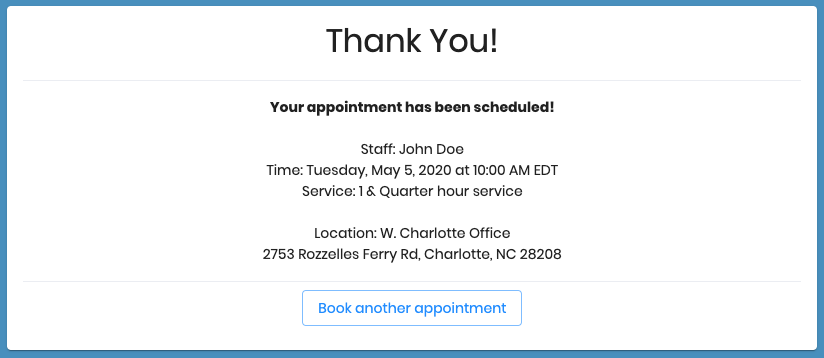
This page will summarize the key details of your appointment, which may include:
Who your appointment is booked with
The date and time of your appointment
The service or reason for the visit
Location details (name and address)
An option to book another appointment using the same info you just entered
- "Add to Calendar" button where you can download the ICS file to add that event to your personal calendar
You’ll also receive a confirmation email with a link to manage your appointment. From that email, you can cancel or reschedule if needed.