While the Appointments menu and Clients menu both have to do with the bookings you have on your schedule, the Settings menu is what you'll use to configure both your client facing scheduler as well as your own Backoffice scheduling.
The settings menu consists of a left hand side bar which breaks down configuring your schedule into the different components that go into your scheduling process:
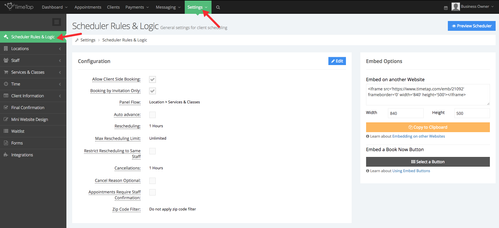
- Scheduler Rules & Logic: where you can configure your scheduler settings as well as grab embed codes
- Locations: where you can customize information around where your meetings take place
- Staff: where you can define who will be rendering the appointments your clients book as well as their schedule for appointments
- Services & Classes: which is what is relayed to your clients as the reason they're booking
- Time: where all the settings around how appointment time-slots are displayed are housed as well as adding staff availability for appointments
- Client Information: where you can set up the fields you want to capture before an appointment is confirmed and the confirmation message after the appointment is booked
- Final Confirmation: where you can the final confirmation panel your clients see after entering their information to serve their appointment
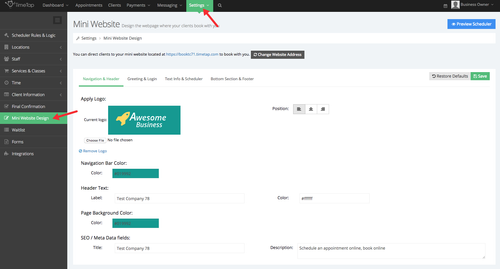
- Mini Website Design: where you can customize the messaging and branding of the scheduling page your clients visit
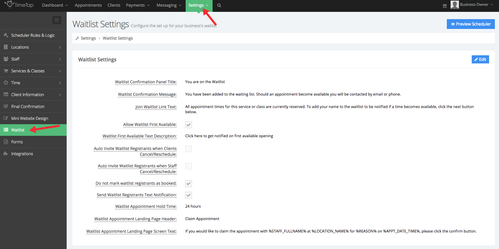
- Waitlist: where you can enabled and customize your waitlist settings
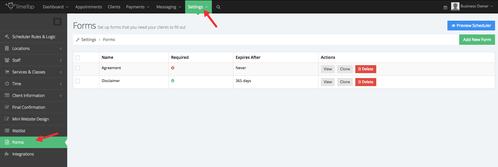
- Forms: where you can add and edit your forms as well as see form submissions
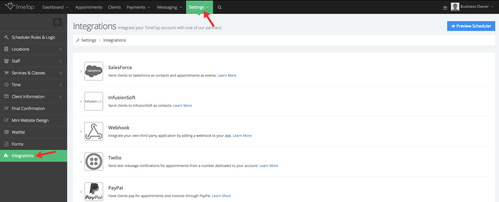
- Integrations: Enable and see a complete list of all integrations supported by TimeTap
In this documentation we will go through a brief synopsis of what's housed in each area. You can click through the synopses given to go to the specific documentation page for each component and learn more about how to use them.
You can also set your rescheduling and cancellation rules as well as select the option to require staff confirmation before an appointment is added to your calendar.
Settings → Scheduler Rules & Logic:
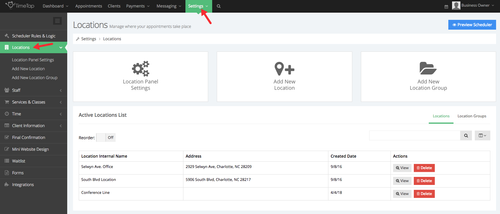
From here, you'll be able to customize the details around your Location's Profile as well as view upcoming and past appointments at your specific location. You can also customize and configure your availability from your Location Profile's Availability tab.
If you are a TimeTap Professional or Business account you can also access all of your locations and add new locations where you're taking appointments.
Settings → Locations:
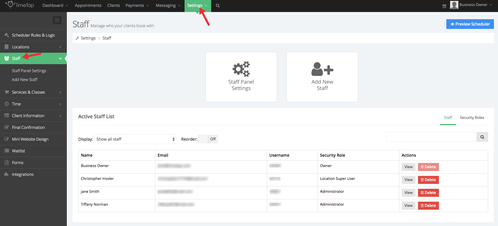
You can customize each staff person's profile with their contact information which will show up in the staff signature of the emails for any appointments booked with him/her. You can also configure the staff person's availability for appointments from within this view.
You can also access the additional staff you add to your account here as well, and set up customizations for the client booking process for when they're selecting staff.
Settings → Staff:
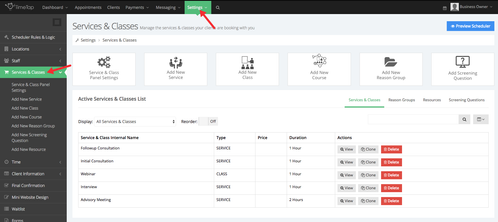
Should you have more services and classes that you offer, however, the Services & Classes page is where you'll be able to add to and customize the reasons for appointments that your clients have to choose from. You can tweak the Service & Class Panel display settings, add a new service, add a new class, reorder the default way they're sorted, remove them, and customize settings on their service profiles and class profiles.
You also have the option to add a private service or private class to help clients learn a new language, learn a new subject as an independent study, or even master how to play the piano. Stay tuned for all that we have coming up for you to be able to do with your appointment offering types.
Settings → Services & Classes:
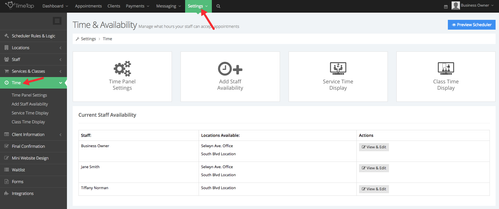
In the Time & Availability page, you'll be able to configure your Time Panel settings (including latest & advanced appointments, timezones, and appointment start times) as well as add in availability for your staff to take appointments.
When you have more than one staff person on your account, this is a good place to come to get a quick overview of all of their availability from the Current Staff Availability table. You can easily view and edit staff availability by clicking the "View & Edit" button to remove or even add availability.
Settings → Time:
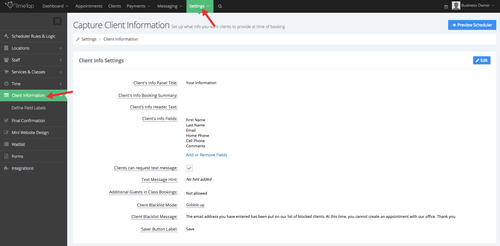
You can go through and define the field names and labels that your clients see as they're booking their appointments and use some custom tags to really refine the appointment scheduled message they read immediately after booking.
As we add features to the application, you'll also be able to set up questionnaires for clients to fill in before coming in for their appointment as well as custom messages for the client to see when payment is due to secure their appointment.
Settings → Client Information:
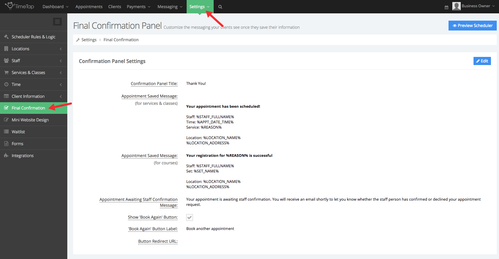
While this email confirmation gives clients a lot of confidence about the success of their appointment booking, you'll never have their attention more fully than you do at the time when this confirmation message is displayed right on your scheduler.
Settings → Final Confirmation:
We will shortly release the functionality to customize the background colors on the mini website so stay tuned for that!
Settings → Mini Website Design:
- Salesforce
- InfusionSoft
- Webhook
- Twilio
- Square
- Stripe
- Google Calendar
- Apple Calendar
- Office 365
- Outlook
- Microsoft Exchange
- API Key
- Restrict Login by IP Address
Settings → Integrations: